Project deployment with the Cloud dashboard
This is a step-by-step guide for deploying your project on Strapi Cloud for the first time, using the Cloud dashboard.
Before you can deploy your Strapi application on Strapi Cloud using the Cloud dashboard, you need to have the following prerequisites:
- Strapi version
4.8.2or higher - Project database must be compatible with PostgreSQL. Strapi does not support and does not recommend using any external databases, though it's possible to configure one (see advanced database configuration).
- Project source code hosted on GitHub or GitLab. The connected repository can contain multiple Strapi applications. Each Strapi app must be in a separate directory.
- Specifically for GitLab: at least have "Maintainer" permissions for the project to import on Strapi Cloud.
Logging in to Strapi Cloud
-
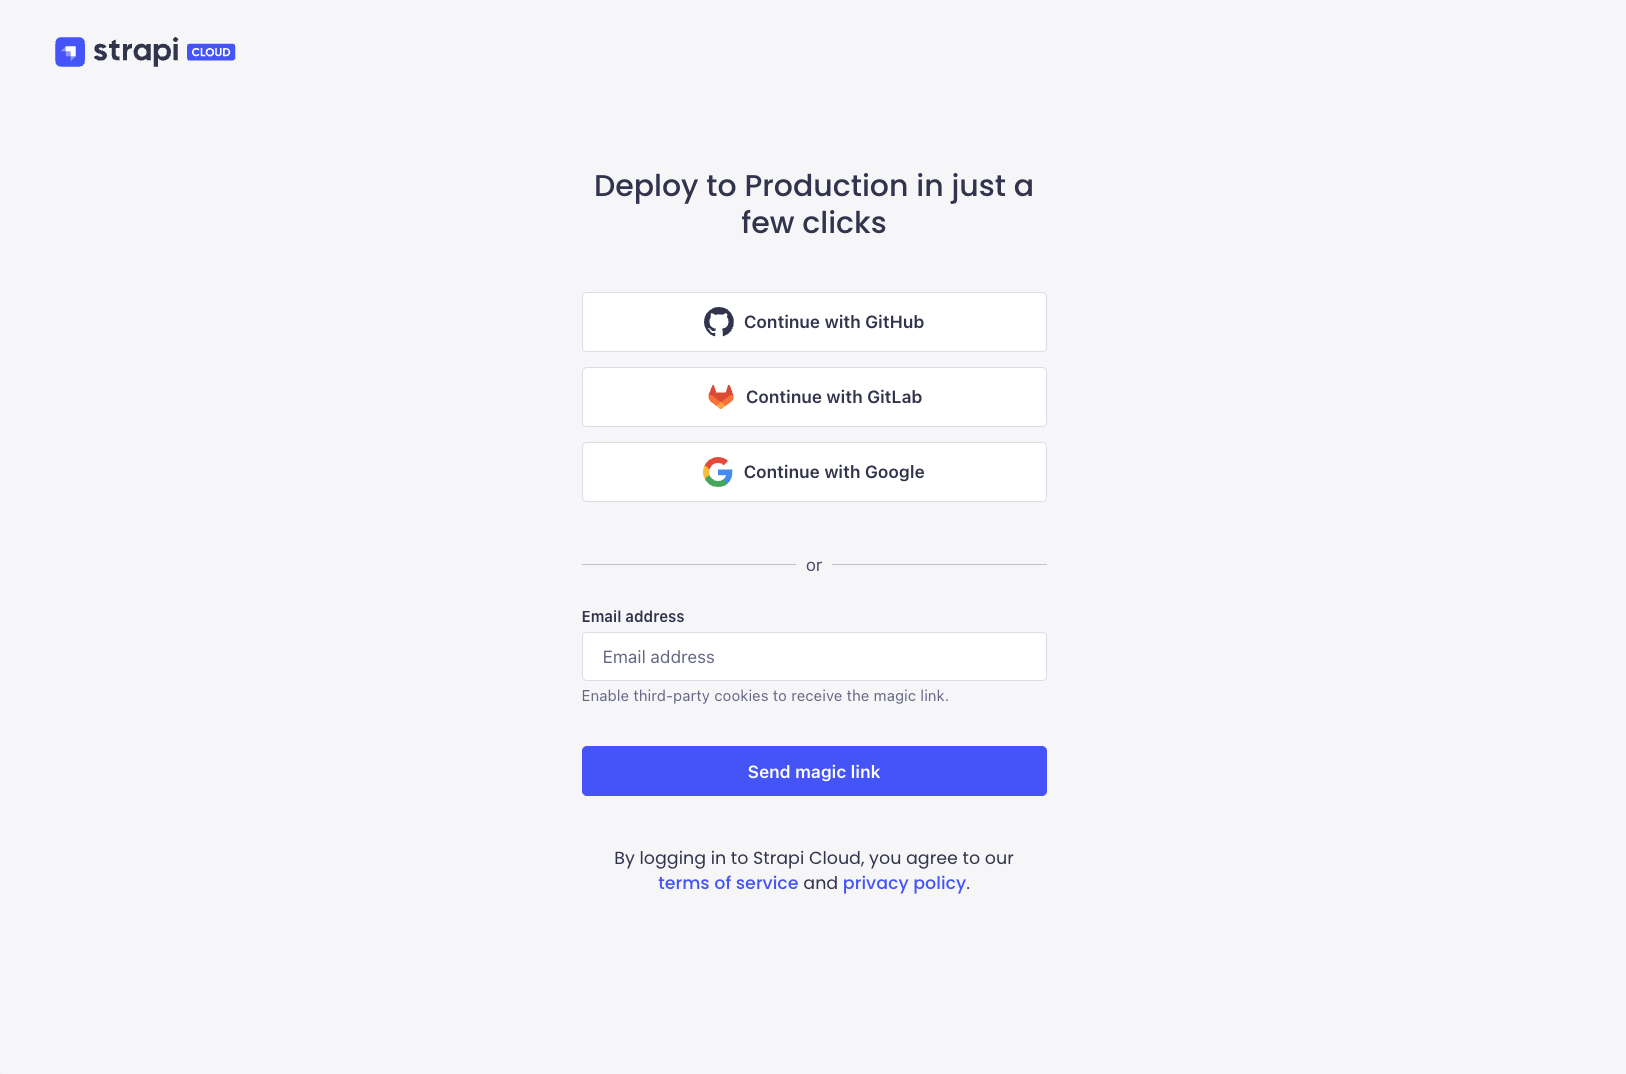
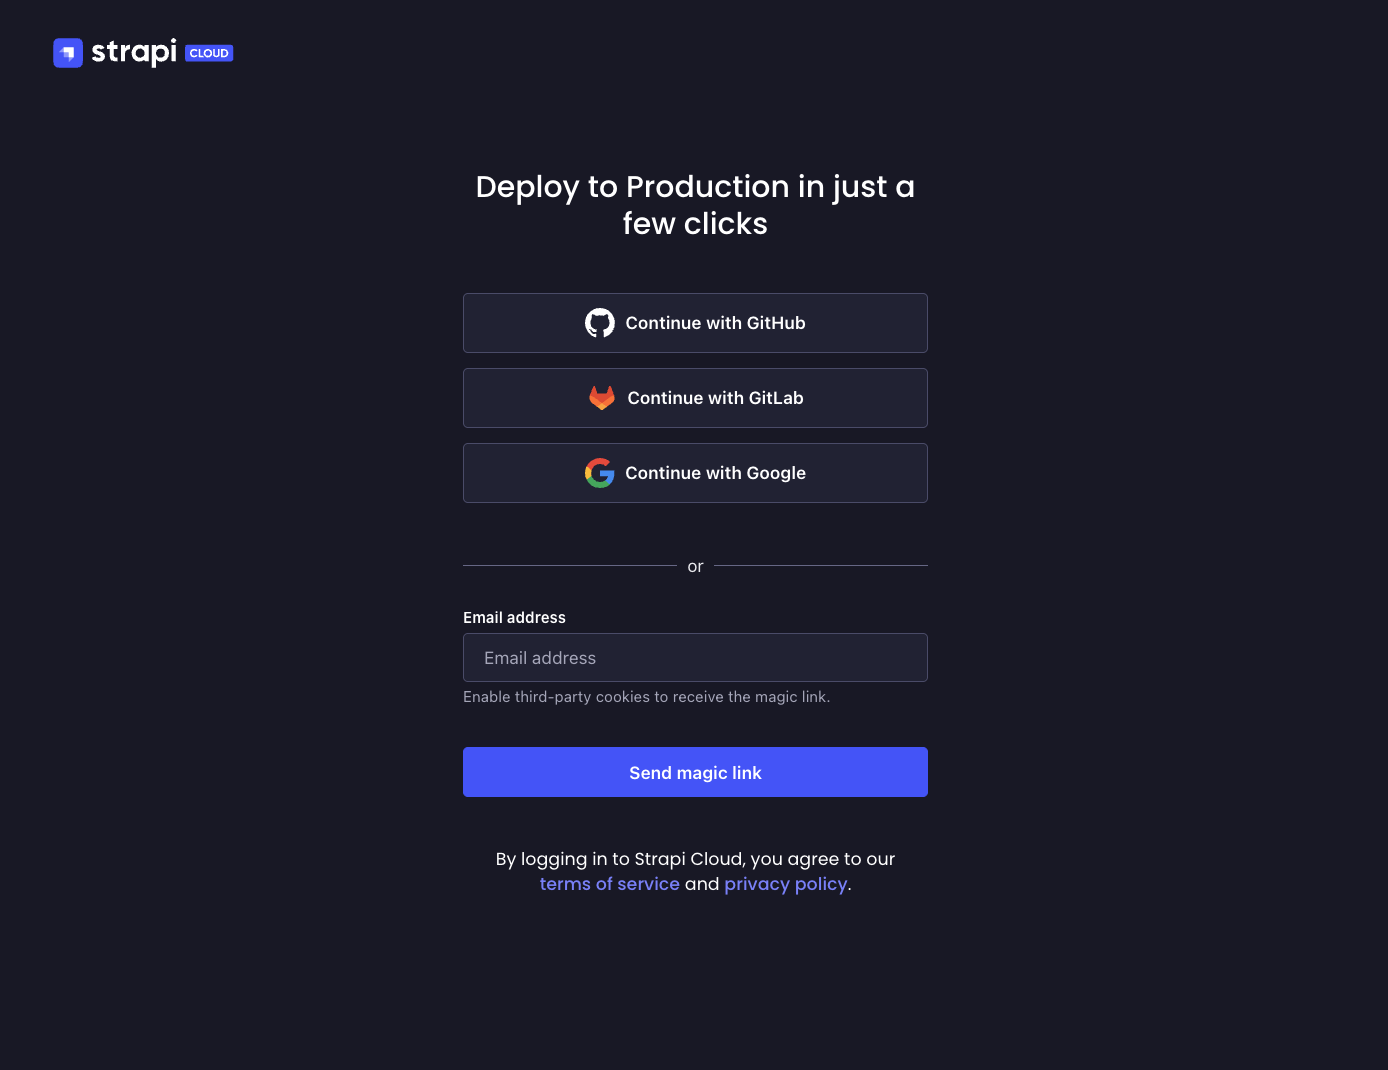
Navigate to the Strapi Cloud login page.
-
You have the options to log in with GitHub, Google, GitLab or via Magic link. Choose your preferred option and log in. This initial login will create your Strapi Cloud account. Once logged in, you will be redirected to the Strapi Cloud Projects page where you can create your first Strapi Cloud project.
Creating a project
-
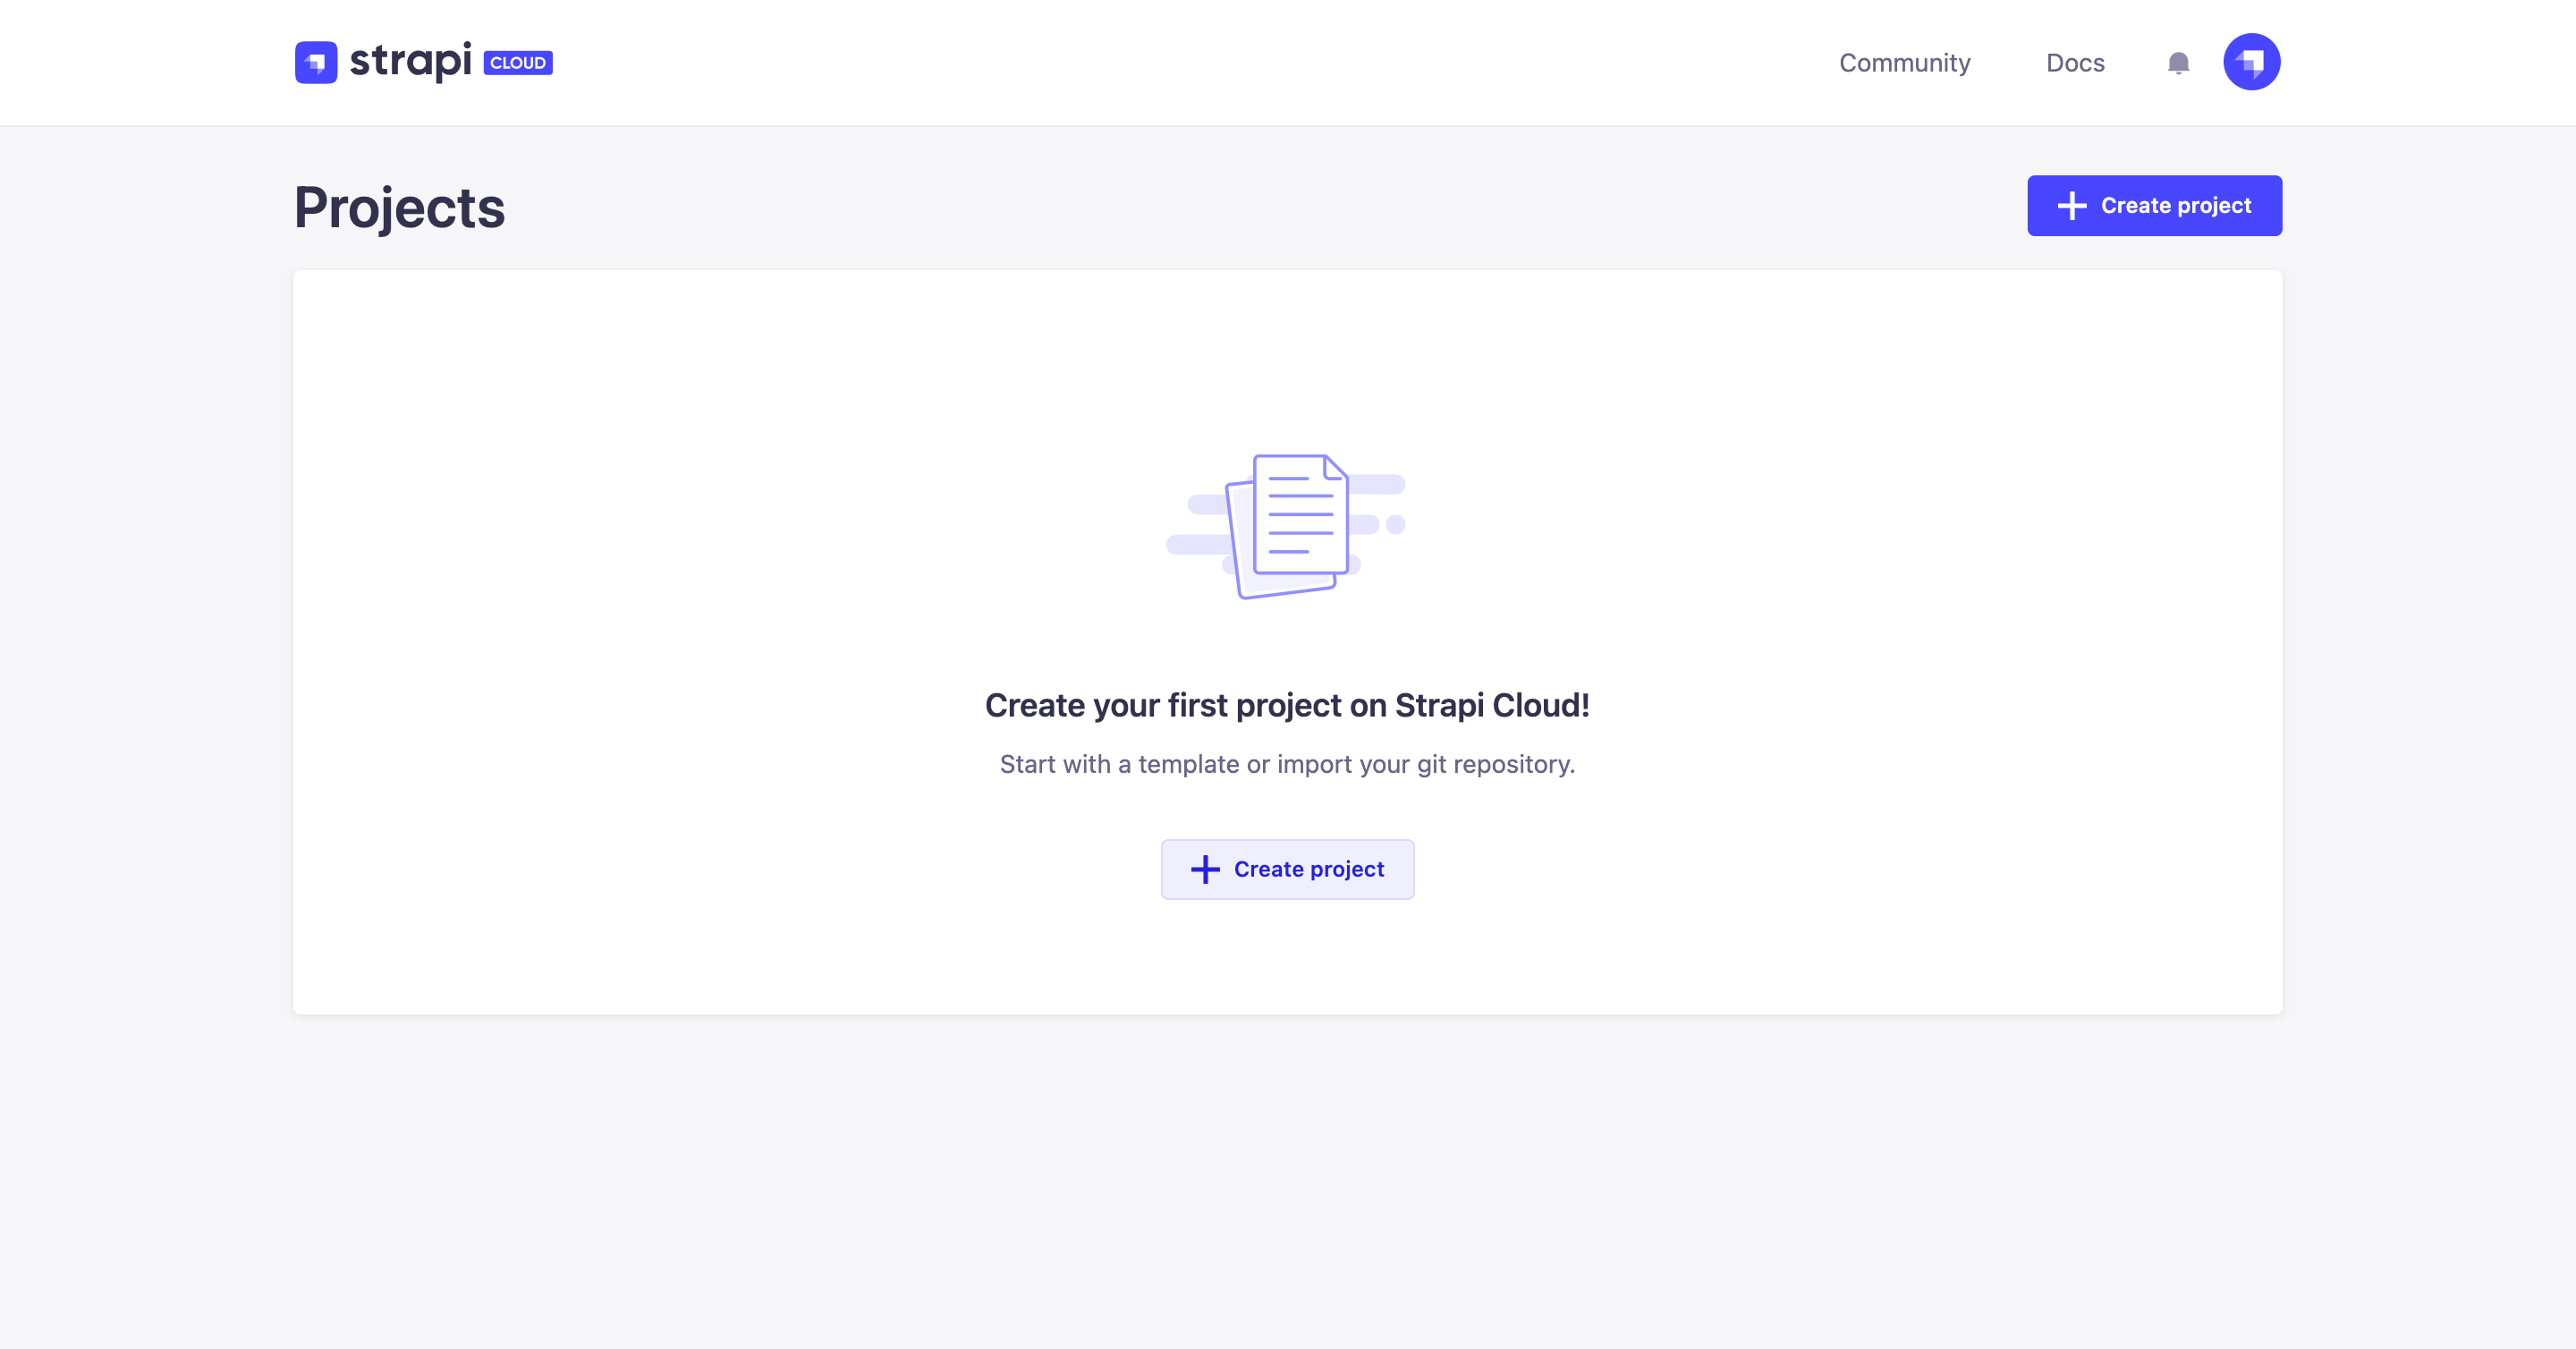
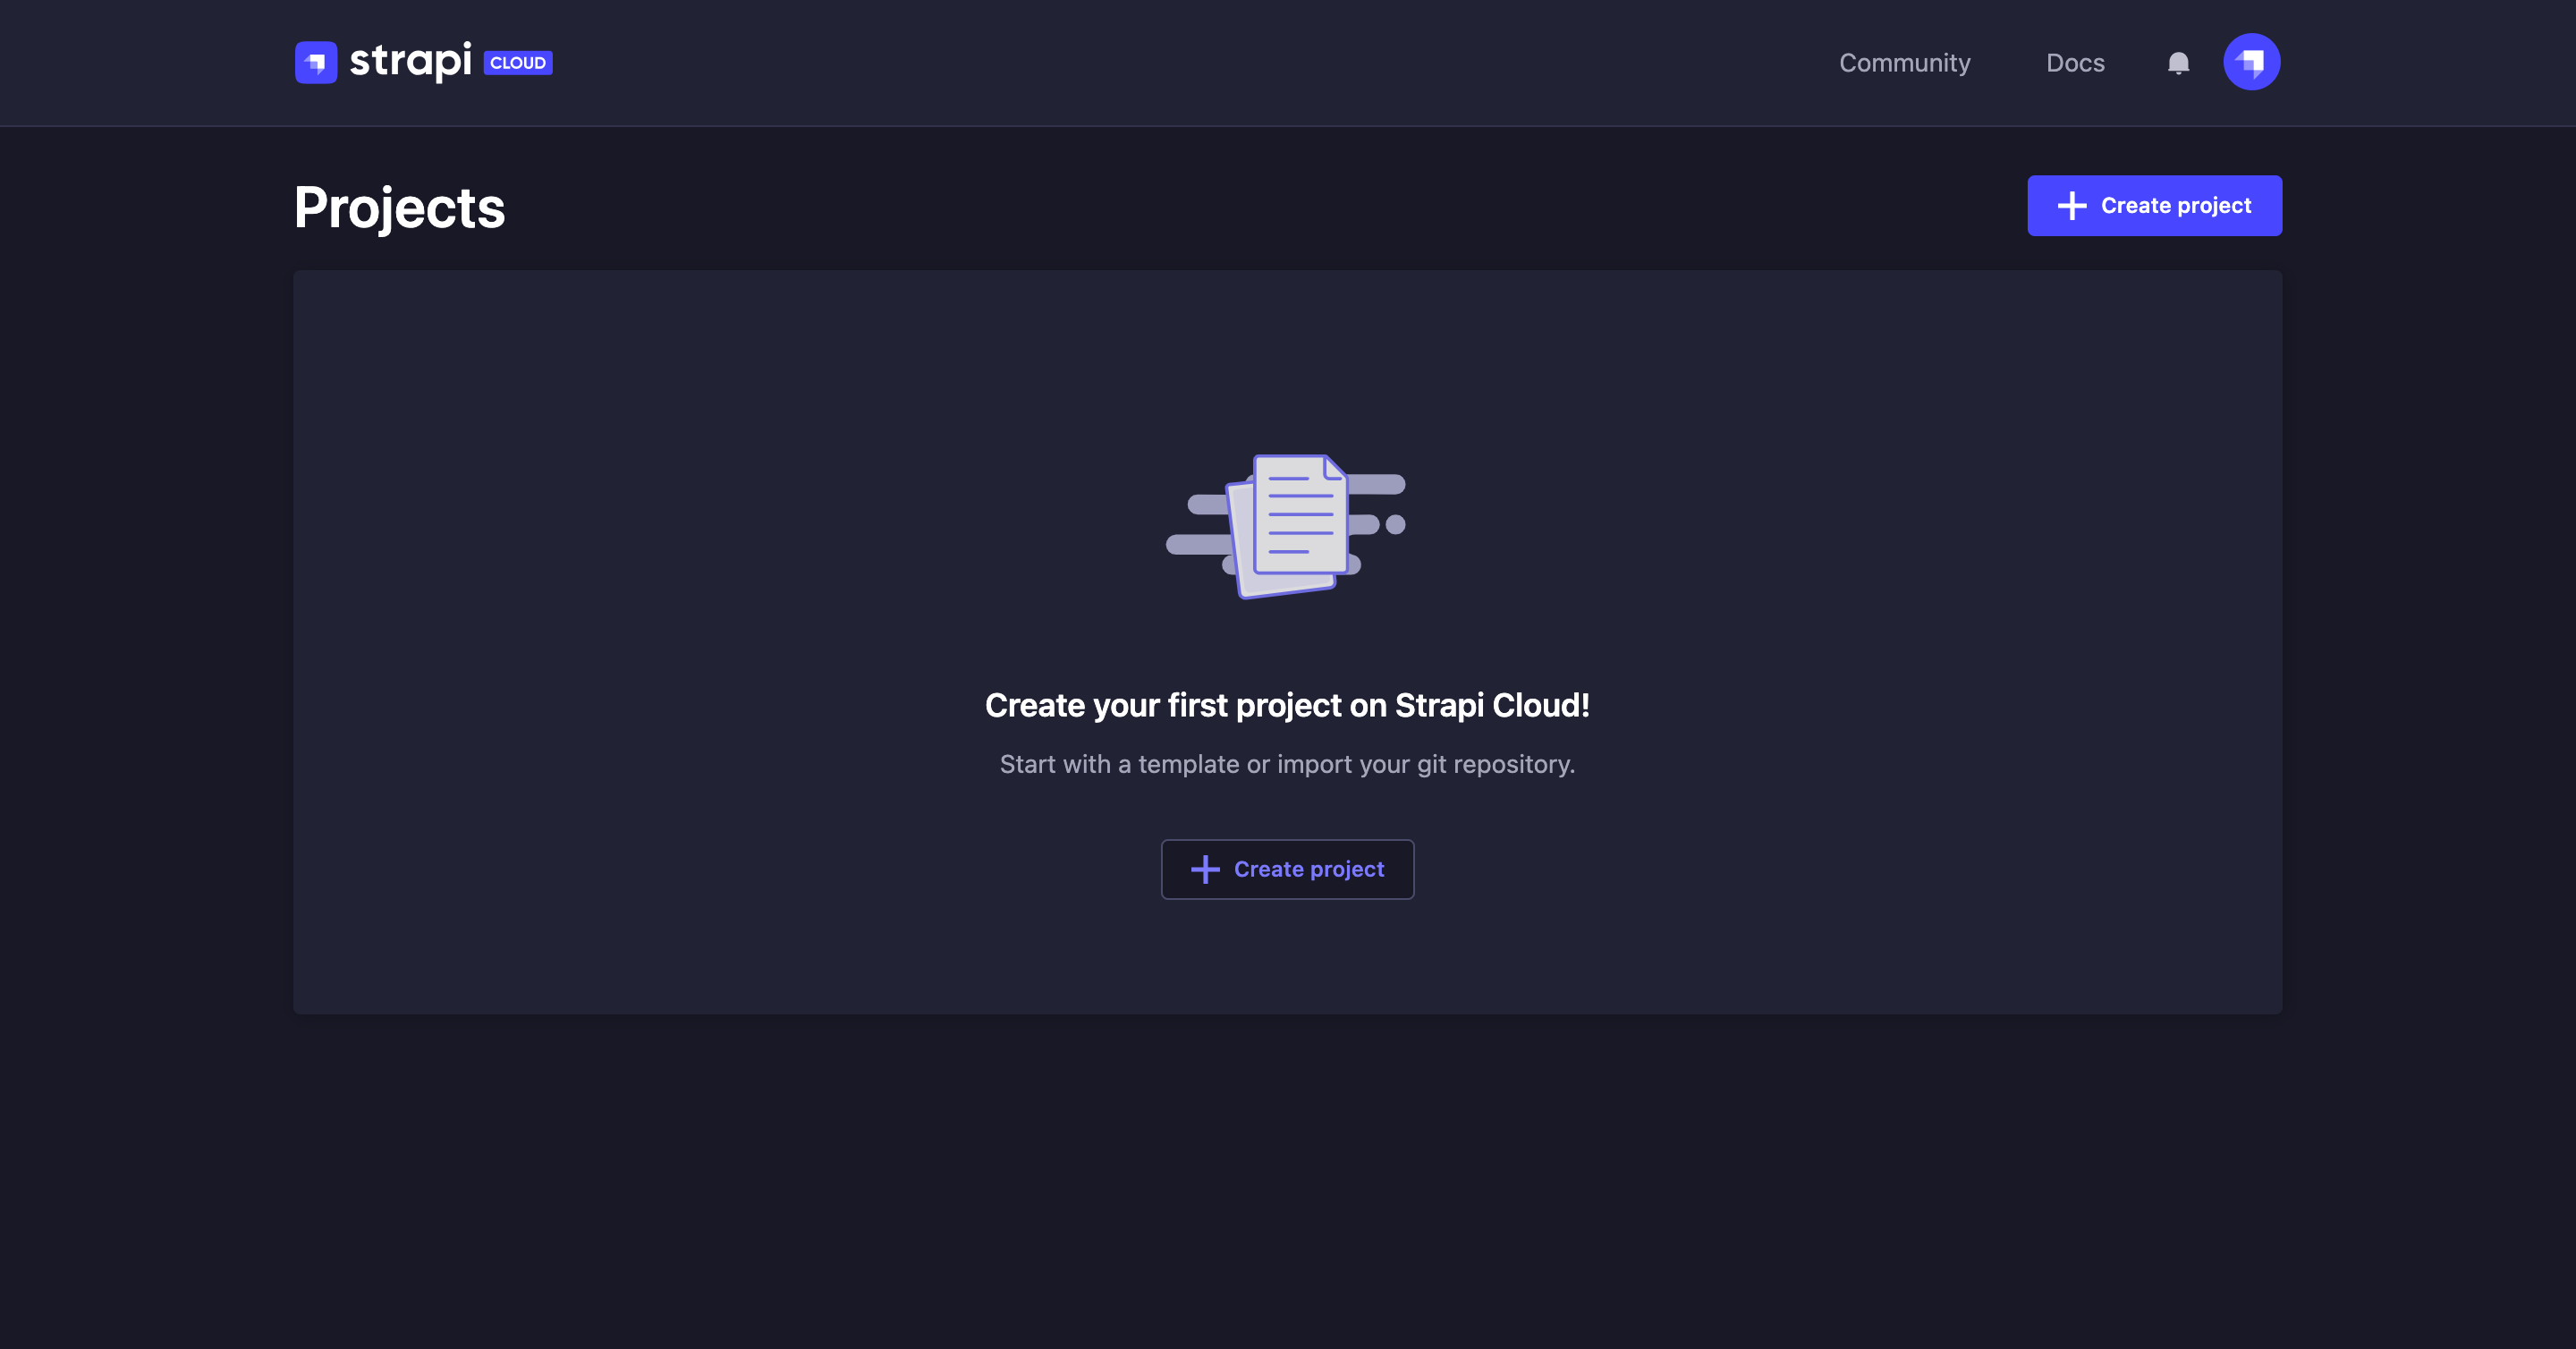
From the Projects page, click the Create project button.
-
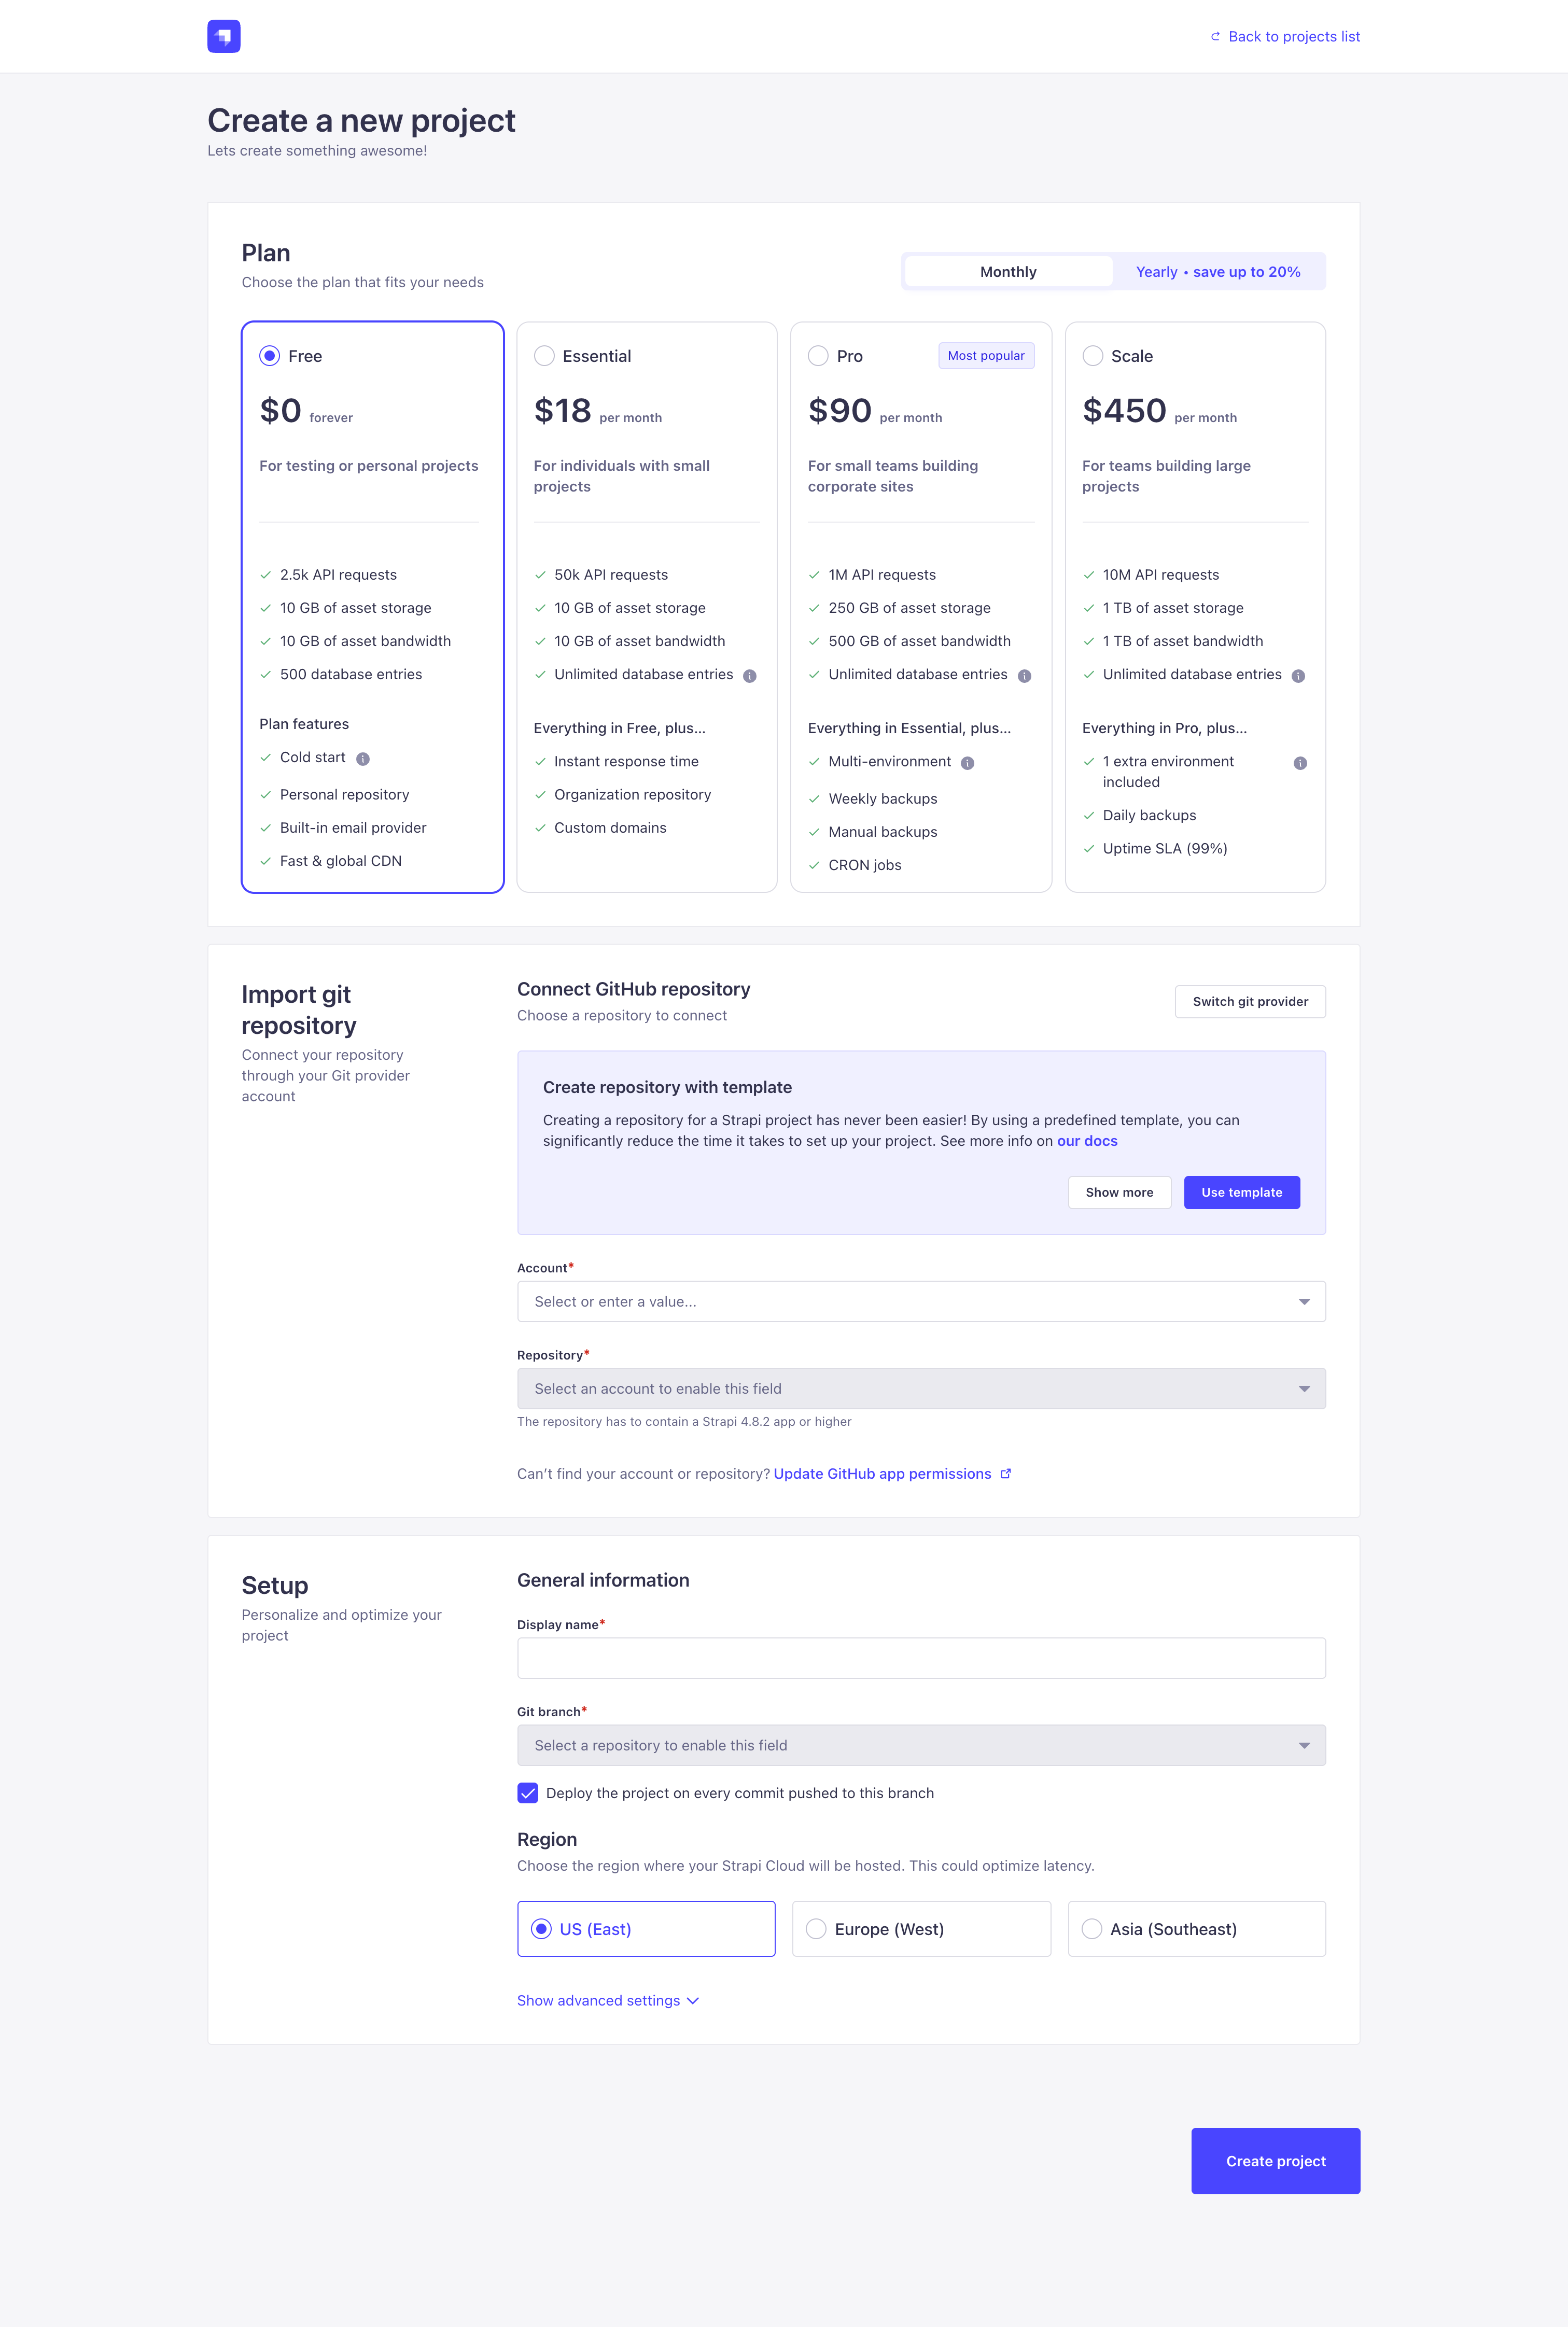
You will be redirected to the project creation interface. This interface contains 3 steps: choosing a plan, connecting a remote git repository, and setting up the project.
-
Choose a plan and a billing period for your Strapi Cloud project (see Pricing for details).
-
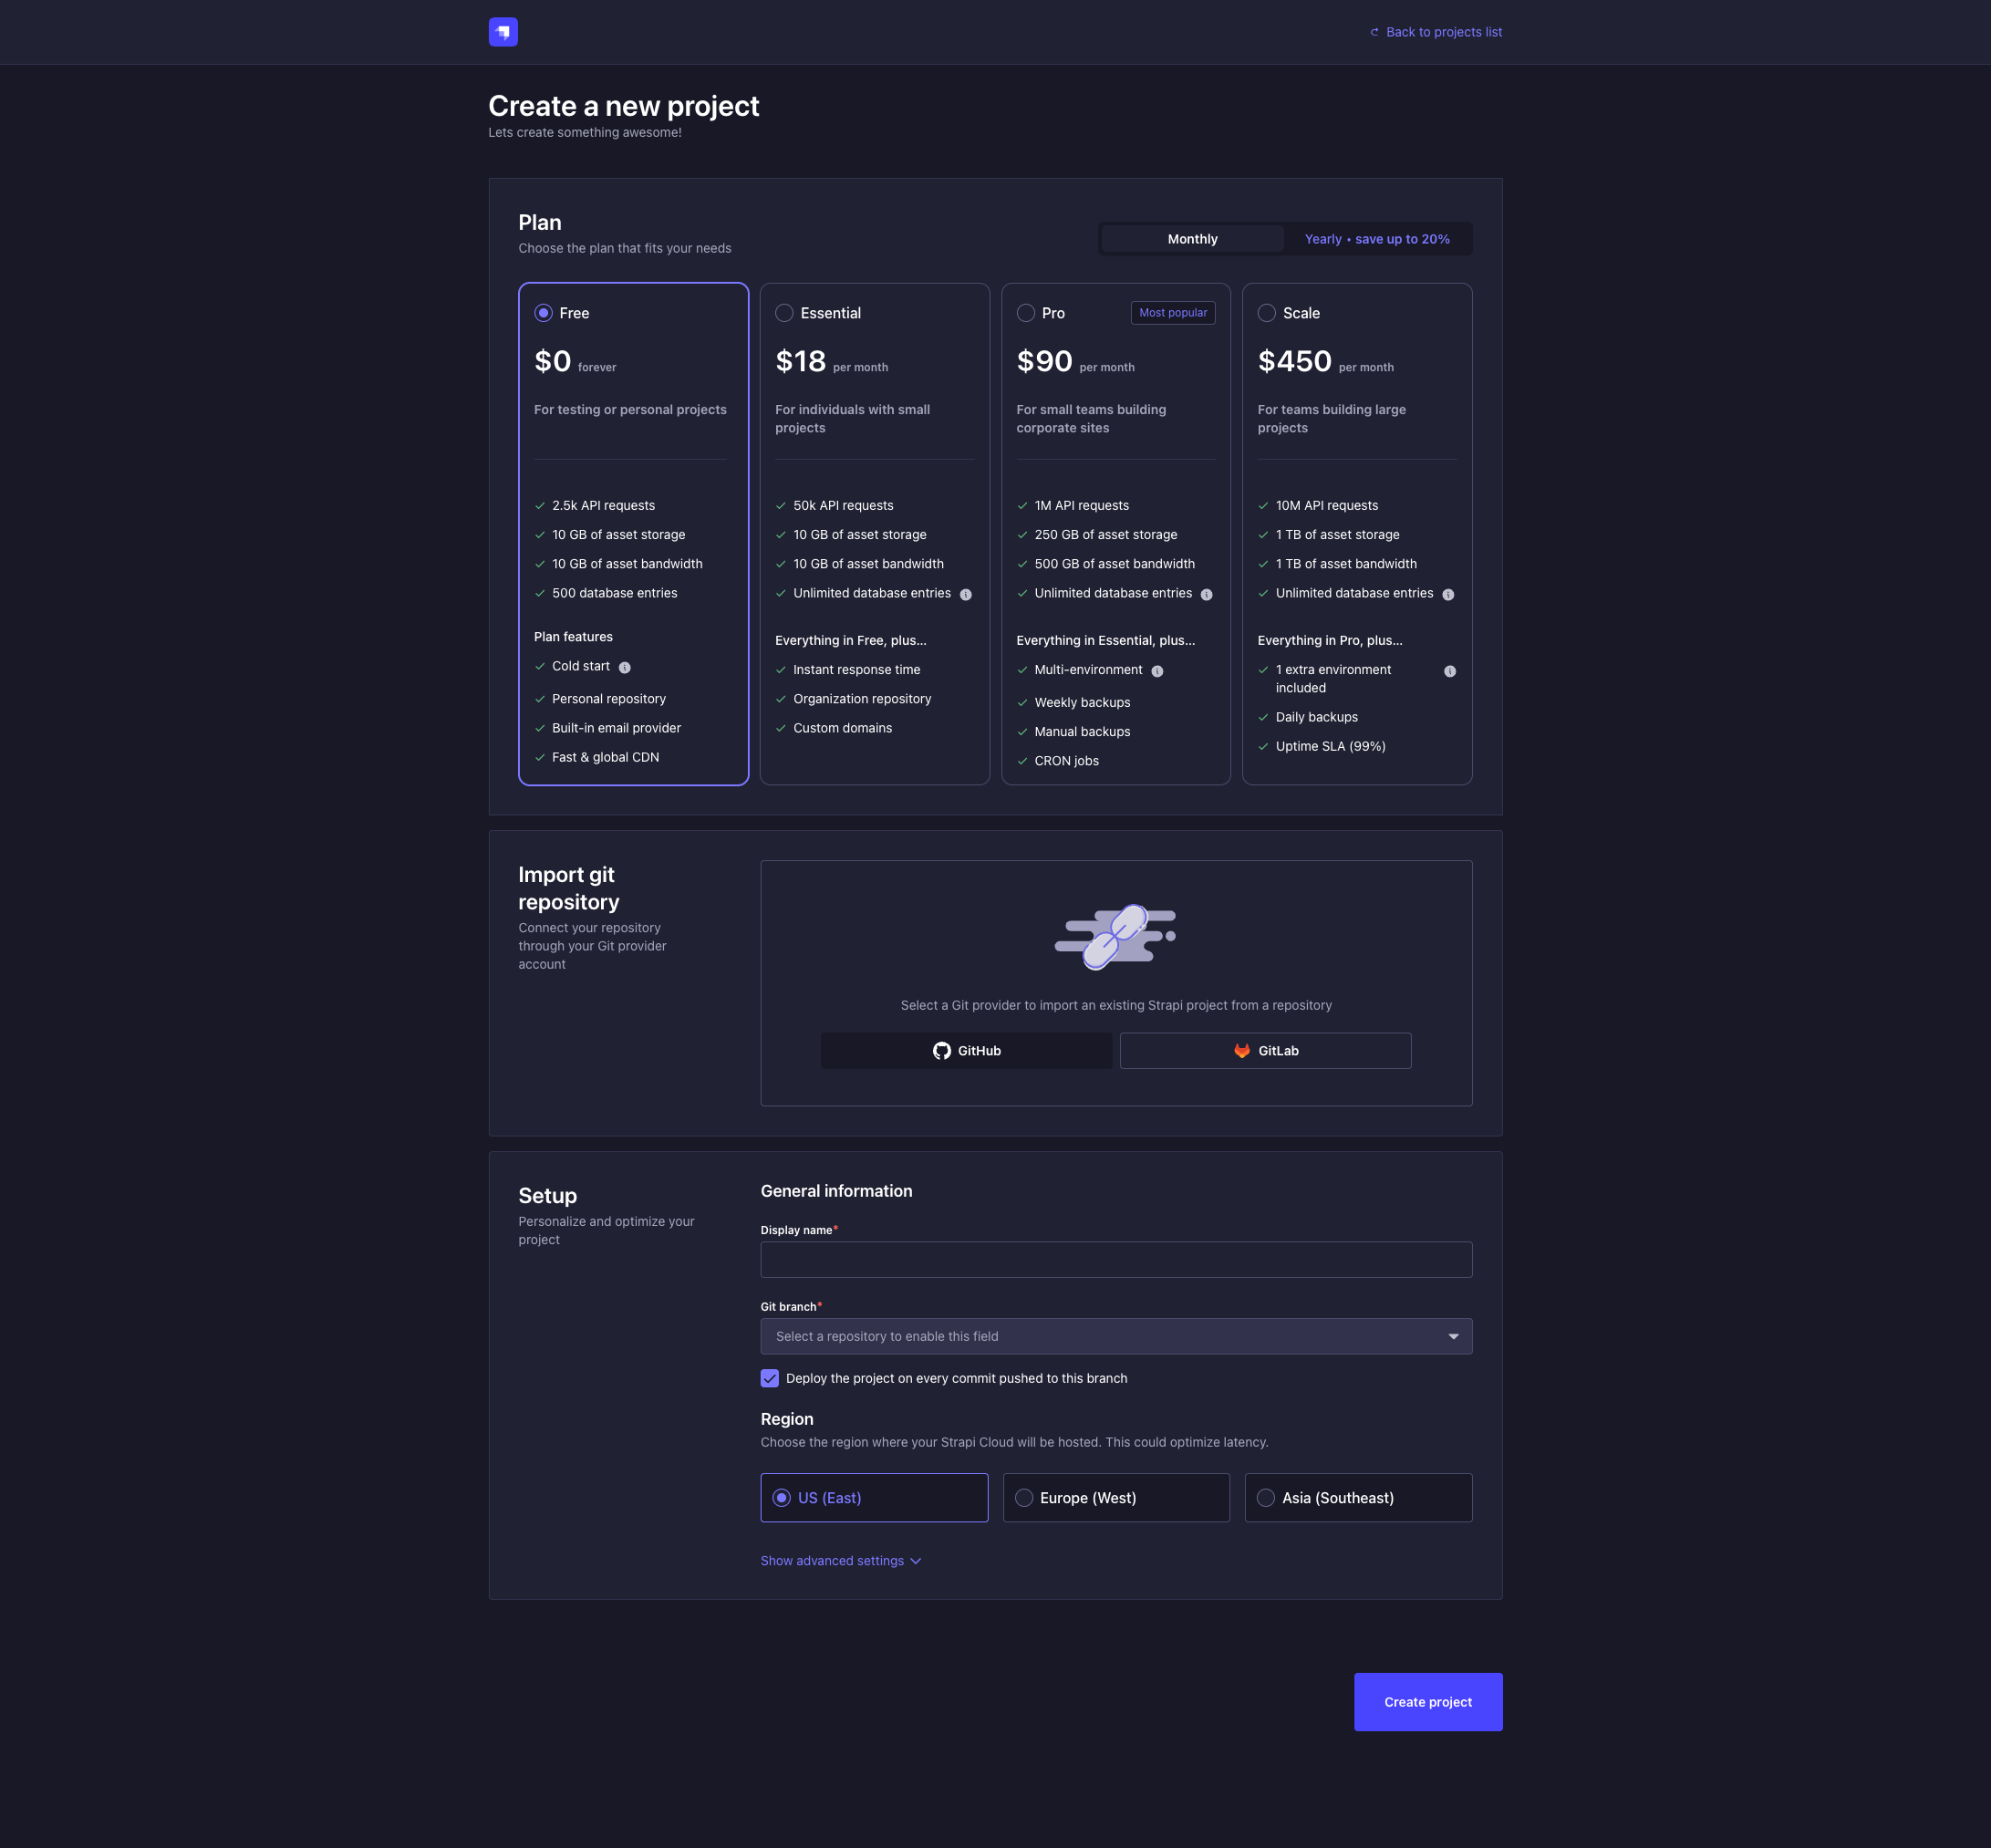
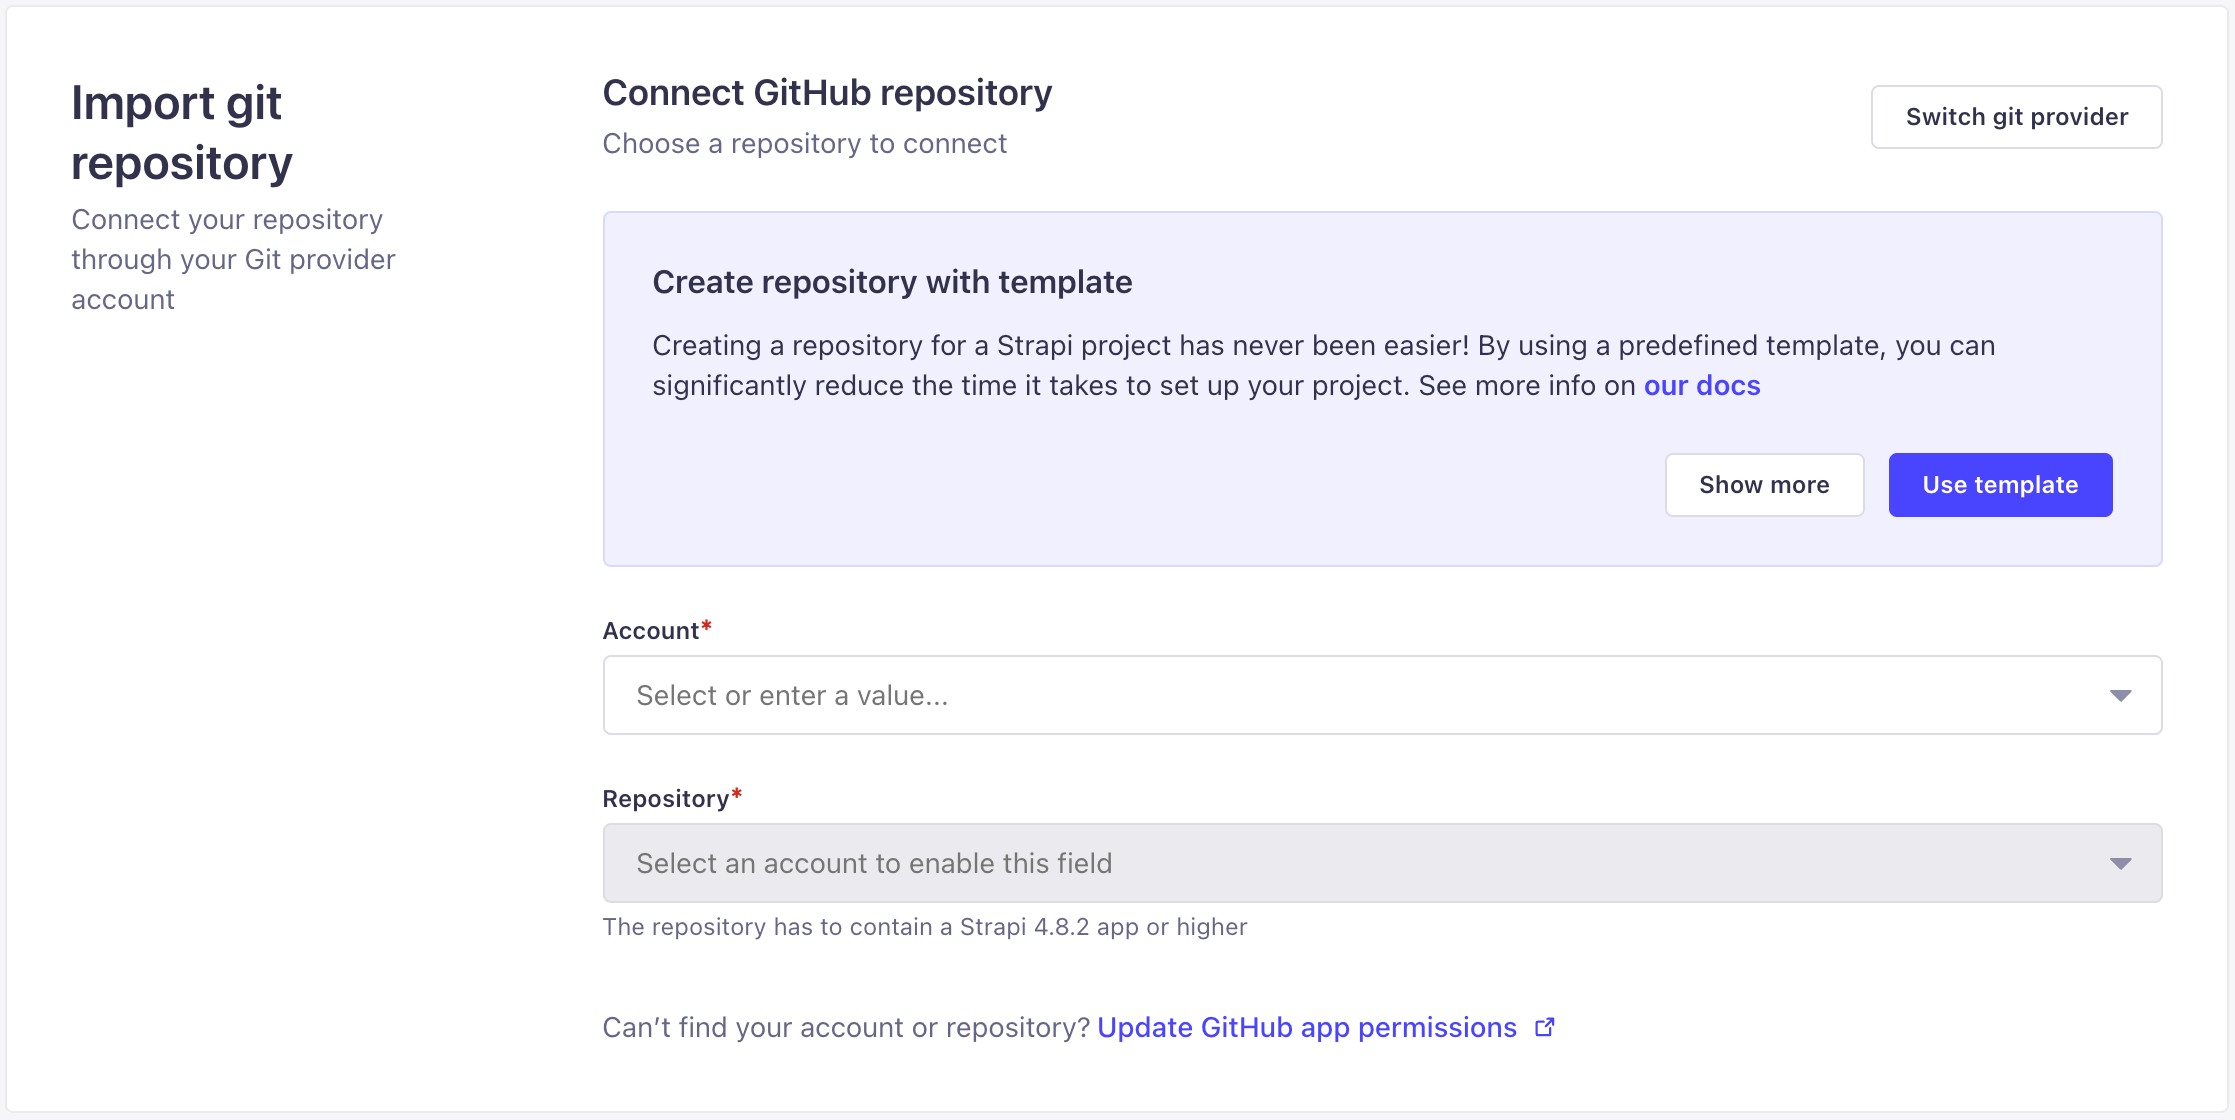
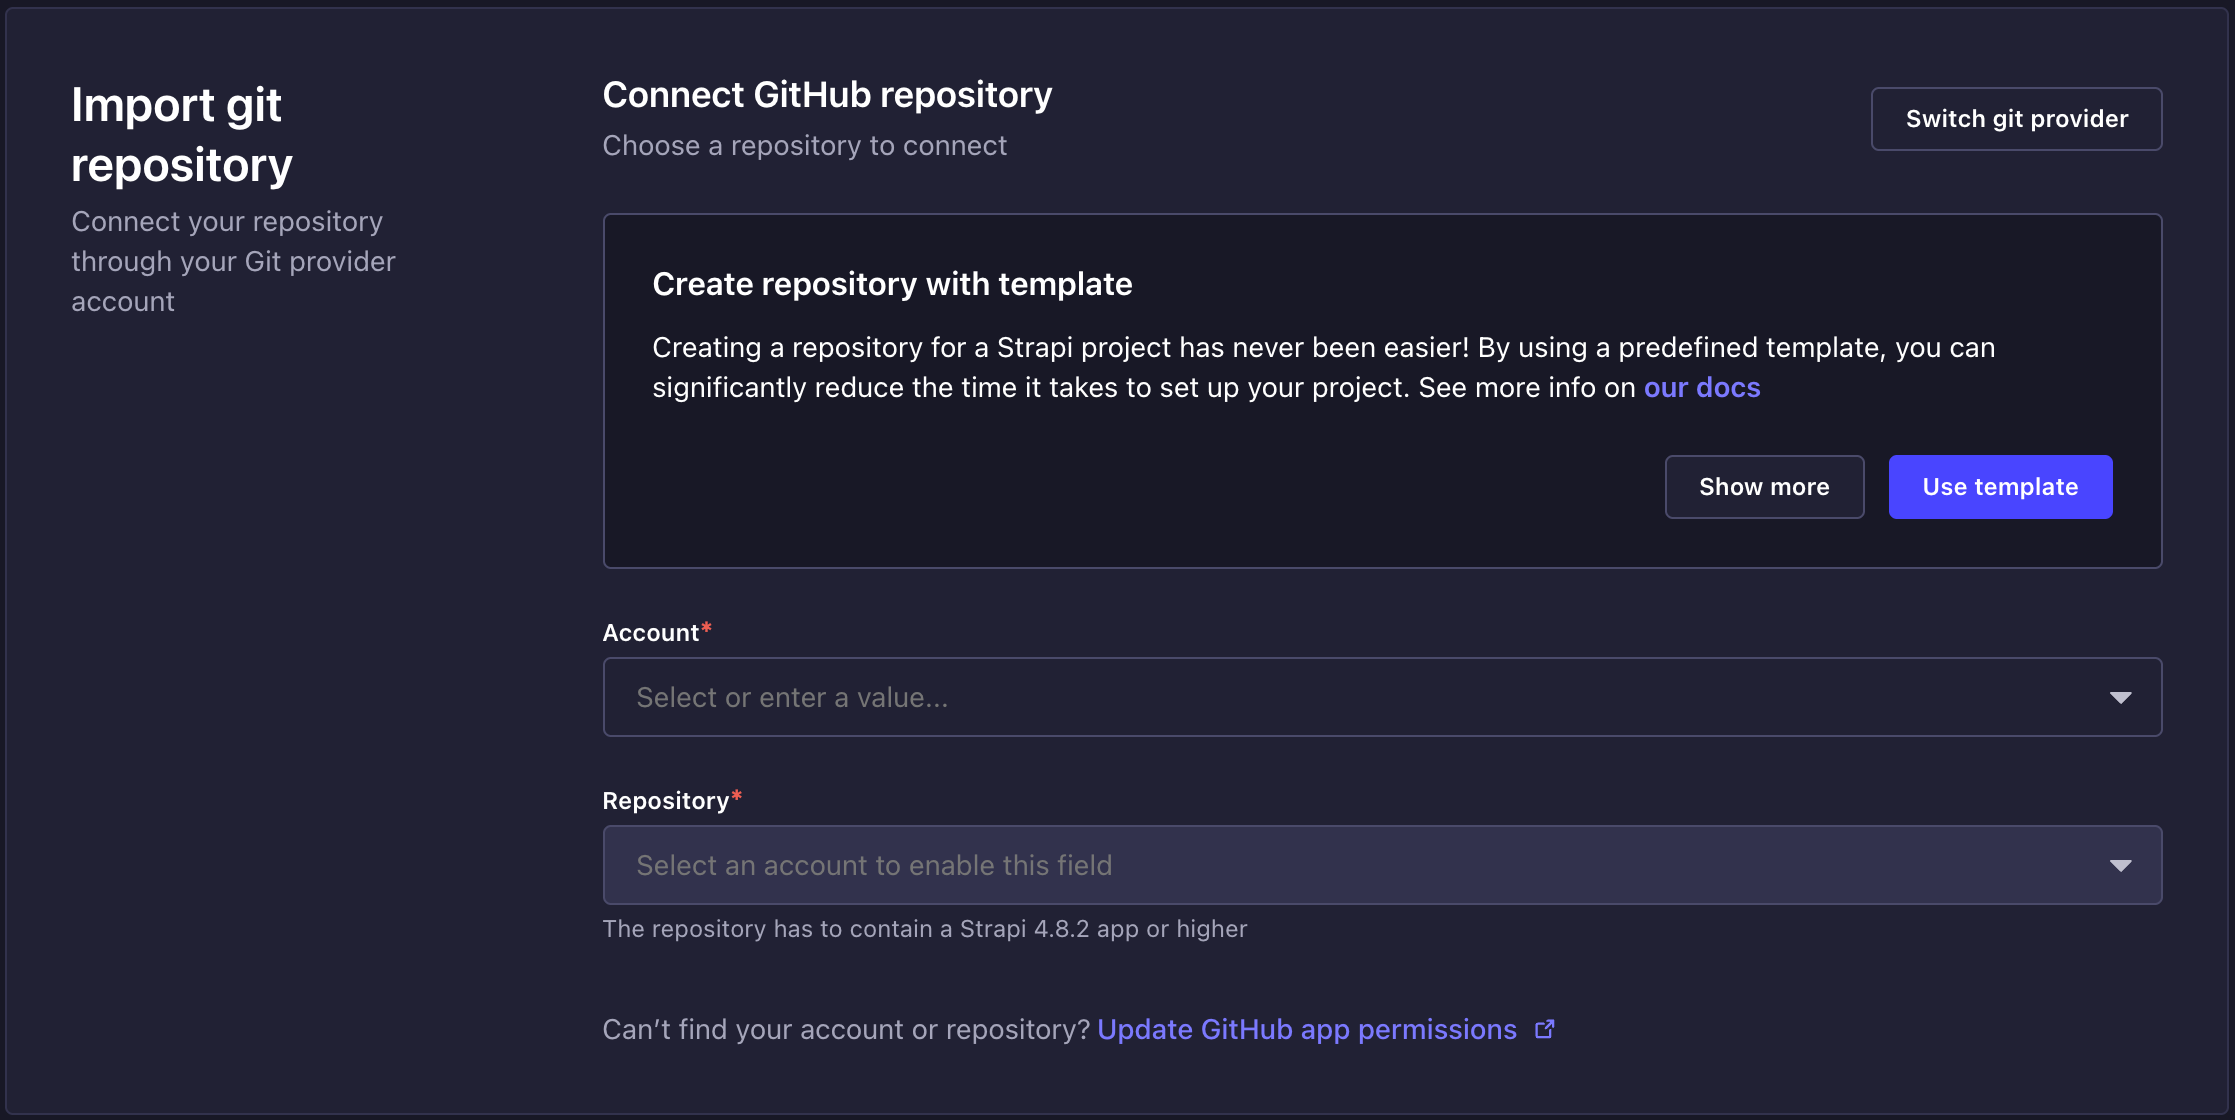
Connect a git repository to your new Strapi Cloud project. You may first have to select a git provider. If you have already deployed a project with one git provider, you can afterward deploy another project using another provider by clicking on the Switch git provider button and selecting either GitHub or GitLab.
Choose your path for your new Strapi Cloud project!Select one of the tabs below depending on how you wish to proceed:
- by deploying a prebuilt Strapi template (recommended for new users and beginners — only available on GitHub),
- or by deploying your existing Strapi project.
- Prebuilt Strapi template ✨
- Existing Strapi project
4.a. After connecting your GitHub account, click on the Use template button.
4.b. In the Create repository with template modal, choose the GitHub account where the repository will be created
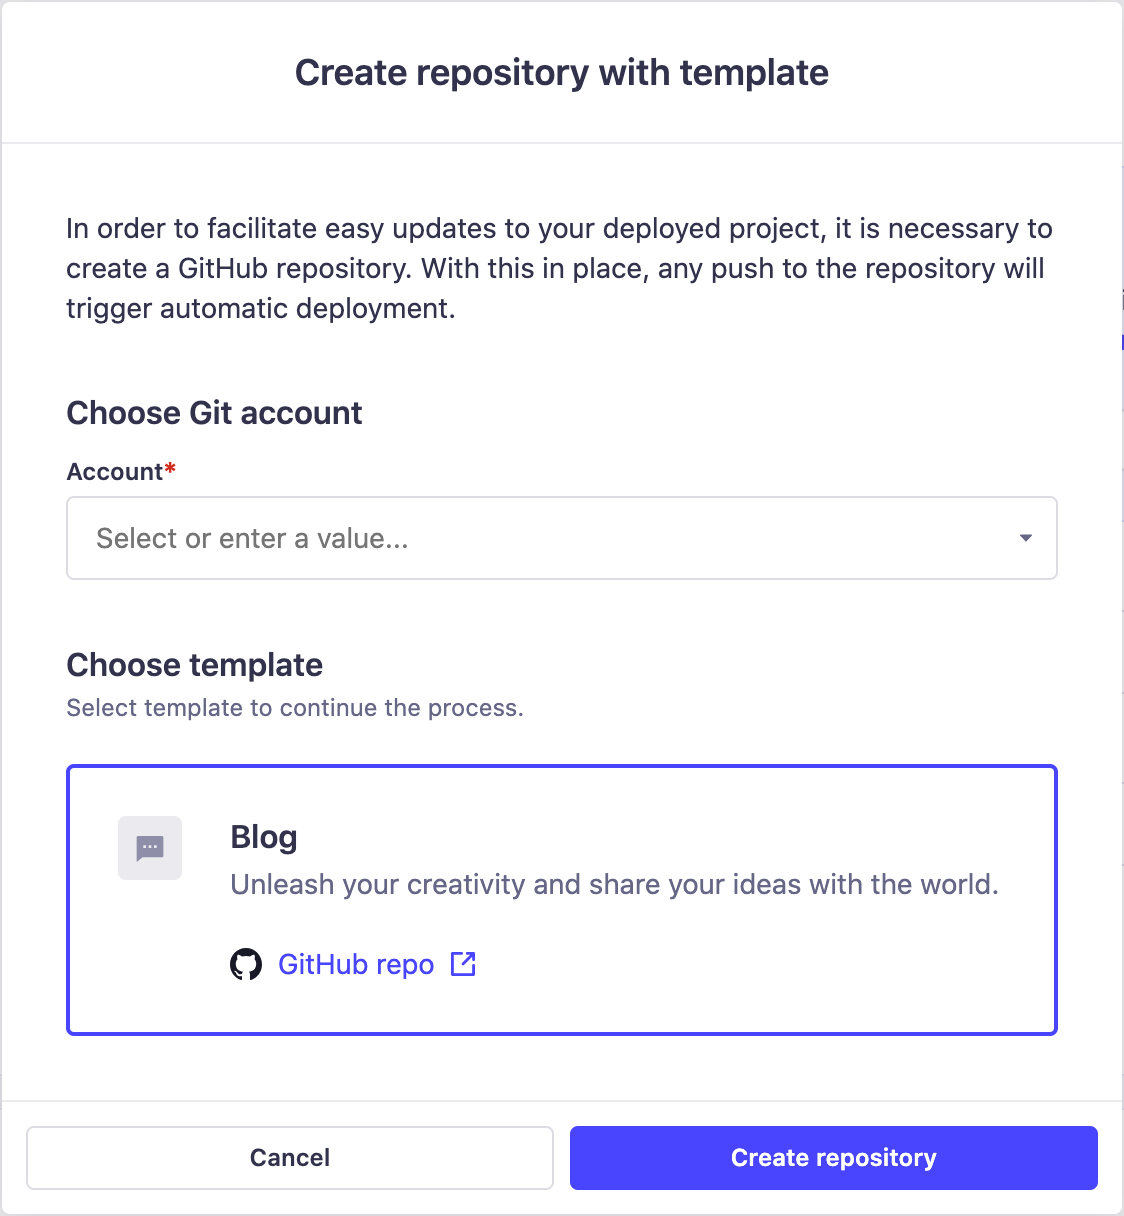
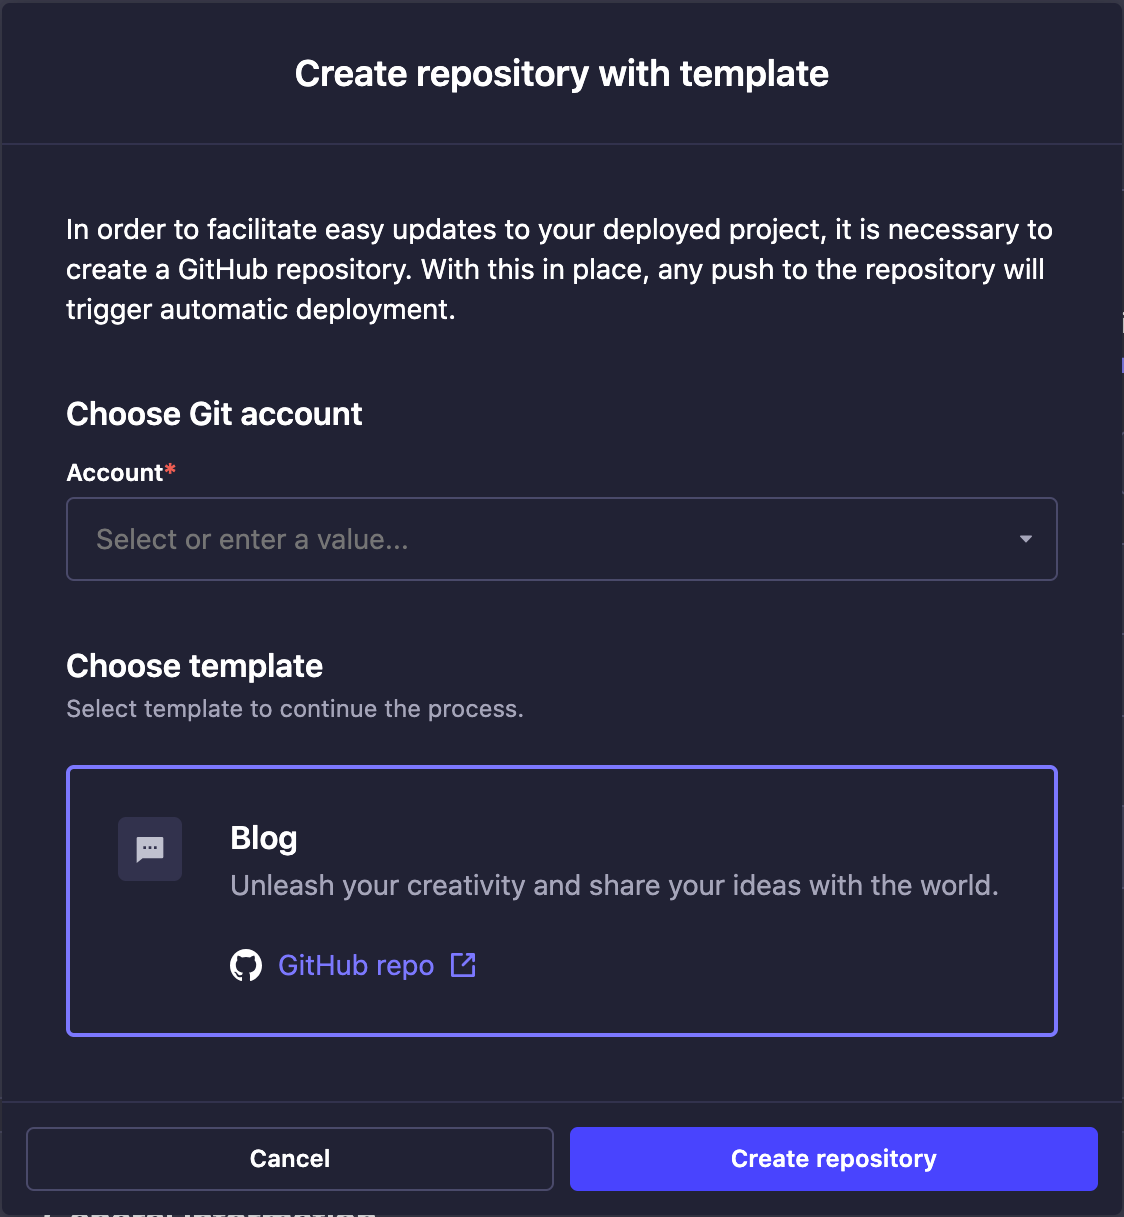
4.c. Click on the Create repository button. A modal will confirm the creation of the repository.
4.d. If you have already given Strapi Cloud access to all repositories of your GitHub account, go directly to the next step. If not, you will be redirected to a GitHub modal where you will have to allow Strapi Cloud access to the newly created repository (more information in the GitHub documentation).
4.e. Back in the project creation interface, the Account and Repository fields now match the newly created template.
TipConnect the GitHub or GitLab account that owns the repository you want to deploy. This can be different from the account you used to log into your Strapi Cloud account.
NoteYou can only connect a GitHub organization repository on a paid plans. On the free plan, you can only connect a personal repository.
4.a. If you have already given Strapi Cloud access to all repositories of your GitHub or GitLab account, go directly to the next step. If not, you will be redirected to a modal where you will have to allow Strapi Cloud permission to access some or all your repositories on GitHub/GitLab (more information in the GitHub and GitLab documentation).
4.c. Back in the project creation interface, select the Account and the Repository you want to deploy.
-
Set up your Strapi Cloud project.
5.a. Fill in the following information:
Setting name Instructions Display name The name is automatically populated based on the repository you selected, but you can edit it if needed. Git branch Choose from the drop-down the branch you want to deploy. Deploy on push Tick this box to automatically trigger a deployment when changes are pushed to your selected branch. When disabled, you will need to manually deploy the latest changes. Region Choose the geographic location of the servers where your Strapi application is hosted. Selected region can either be US (East), Europe (West) or Asia (Southeast). NoteThe Git branch and "Deploy on push" settings can be modified afterwards through the project settings. However, the hosting region can only be chosen during the creation of the project (see Project Settings).
5.b. (optional) Click on Show advanced settings to fill in the following options:
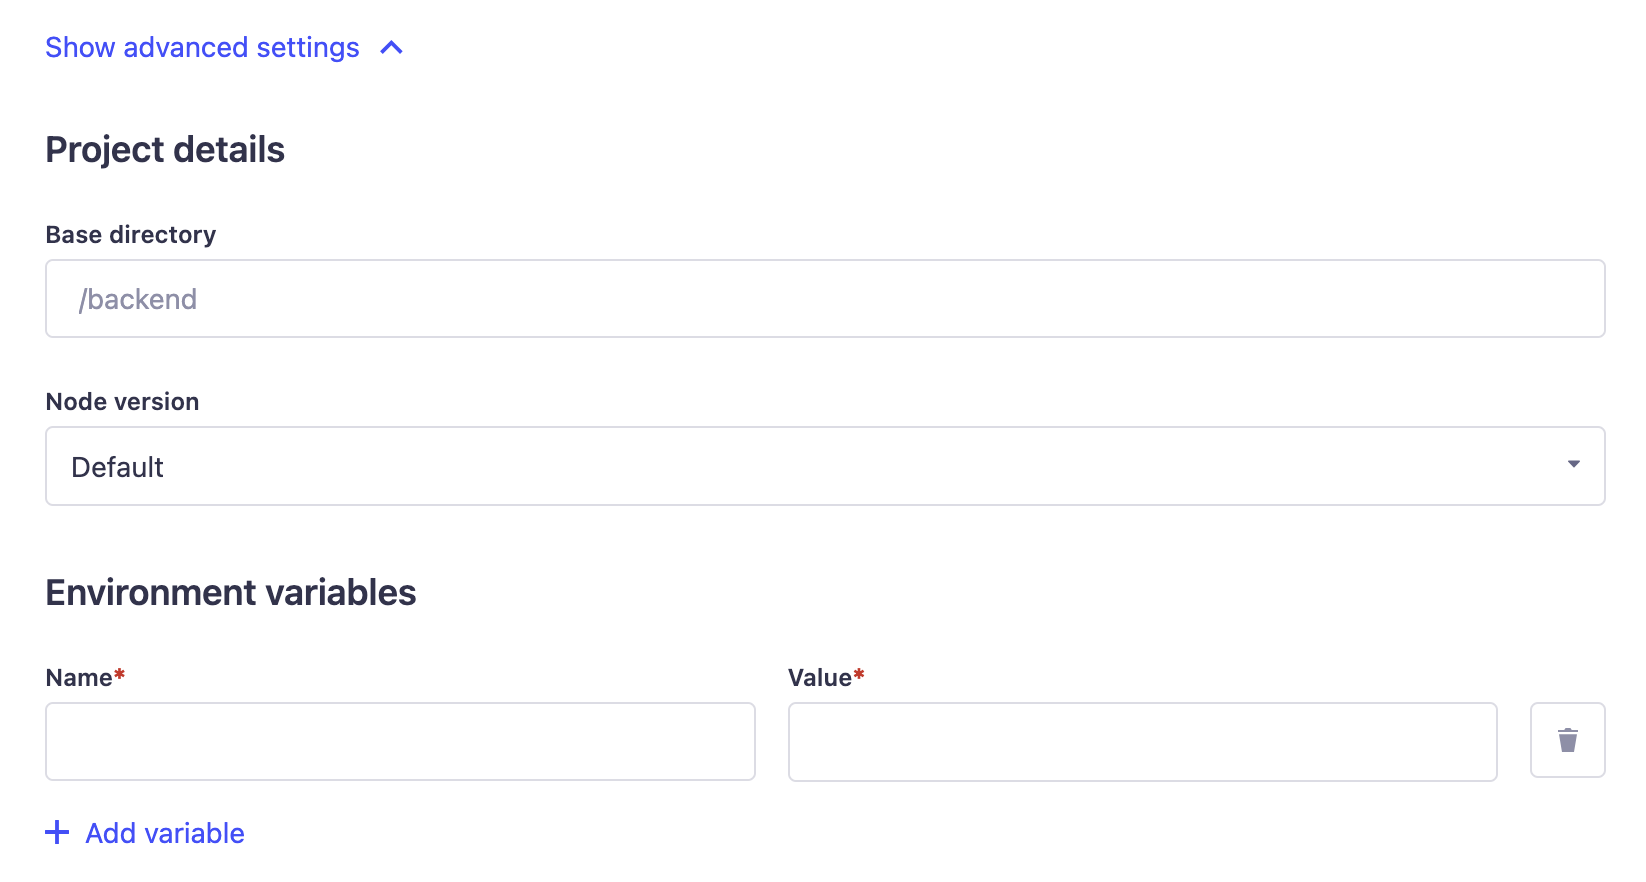
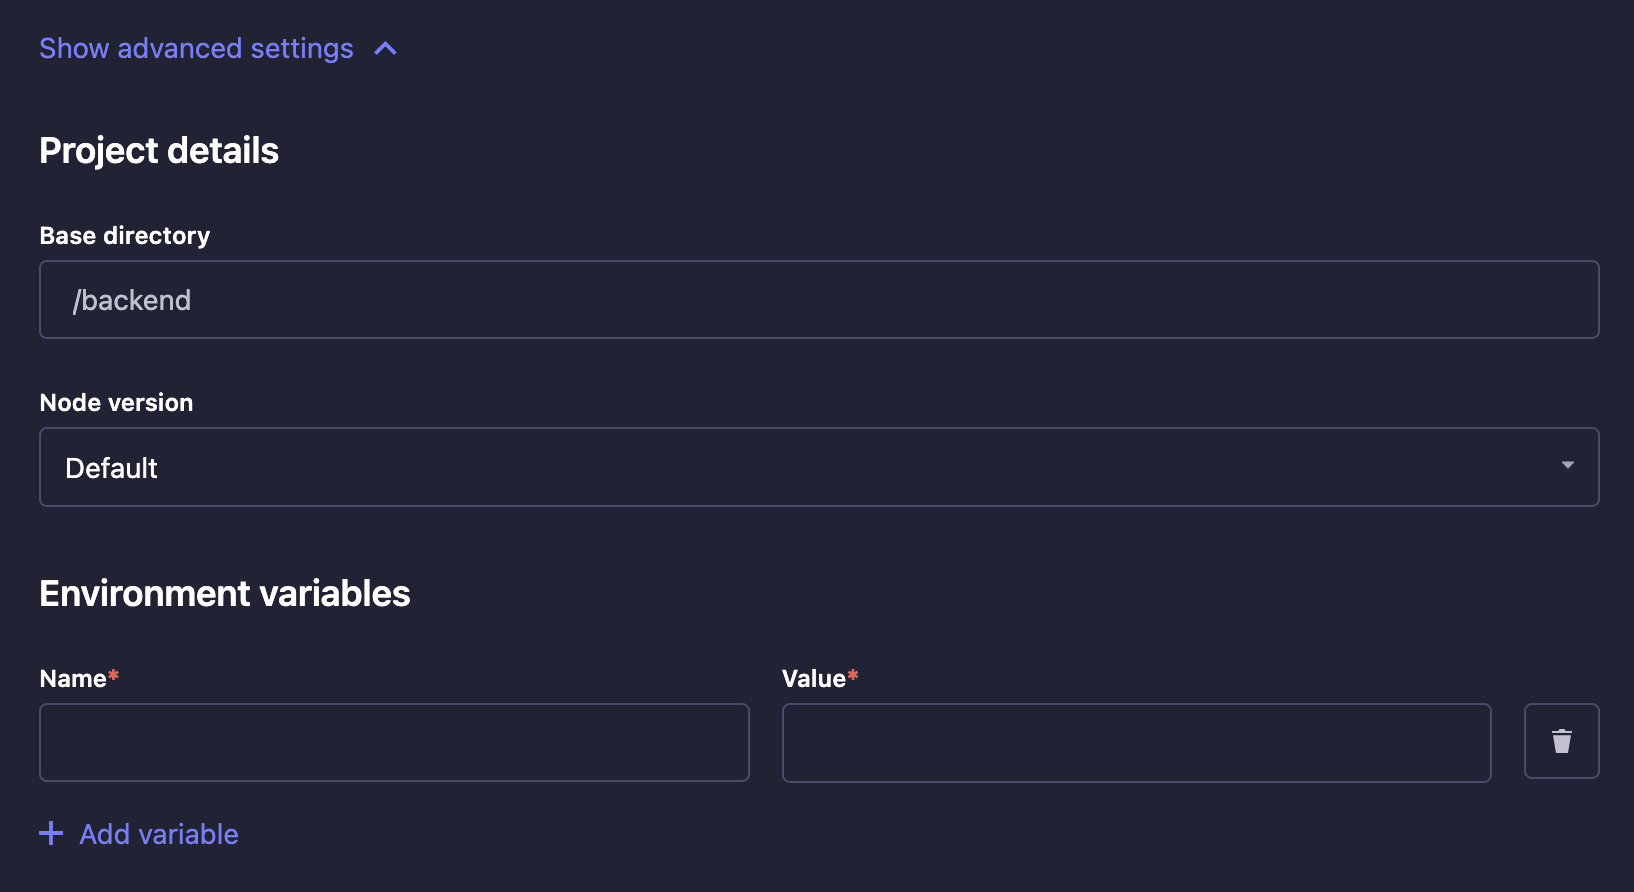
Setting name Instructions Base directory Write the name of the directory where your Strapi app is located in the repository. This is useful if you have multiple Strapi apps in the same repository or if you have a monorepo. Environment variables Click on Add variable to add environment variables used to configure your Strapi app (see Environment variables for more information). You can also add environment variables to your Strapi application by adding a .envfile to the root of your Strapi app directory. The environment variables defined in the.envfile will be used by Strapi Cloud.Node version Choose a Node version from the drop-down. The default Node version will automatically be chosen to best match the version of your Strapi project. If you manually choose a version that doesn't match with your Strapi project, the build will fail but the explanation will be displayed in the build logs. Using Environment VariablesYou can use environment variable to connect your project to an external database rather than the default one used by Strapi Cloud (see database configuration for more details). If you would like to revert and use Strapi's default database again, remove your
DATABASE_environment variables (no automatic migration implied).You can also set up here a custom email provider. Sendgrid is set as the default one for the Strapi applications hosted on Strapi Cloud (see providers configuration for more details).
Setting up billing details
If you chose the free plan, this billing step will be skipped as you will not be asked to share your credit card details at the creation of the project.
Skip to step 5 of the section below to finalize the creation of your project.
-
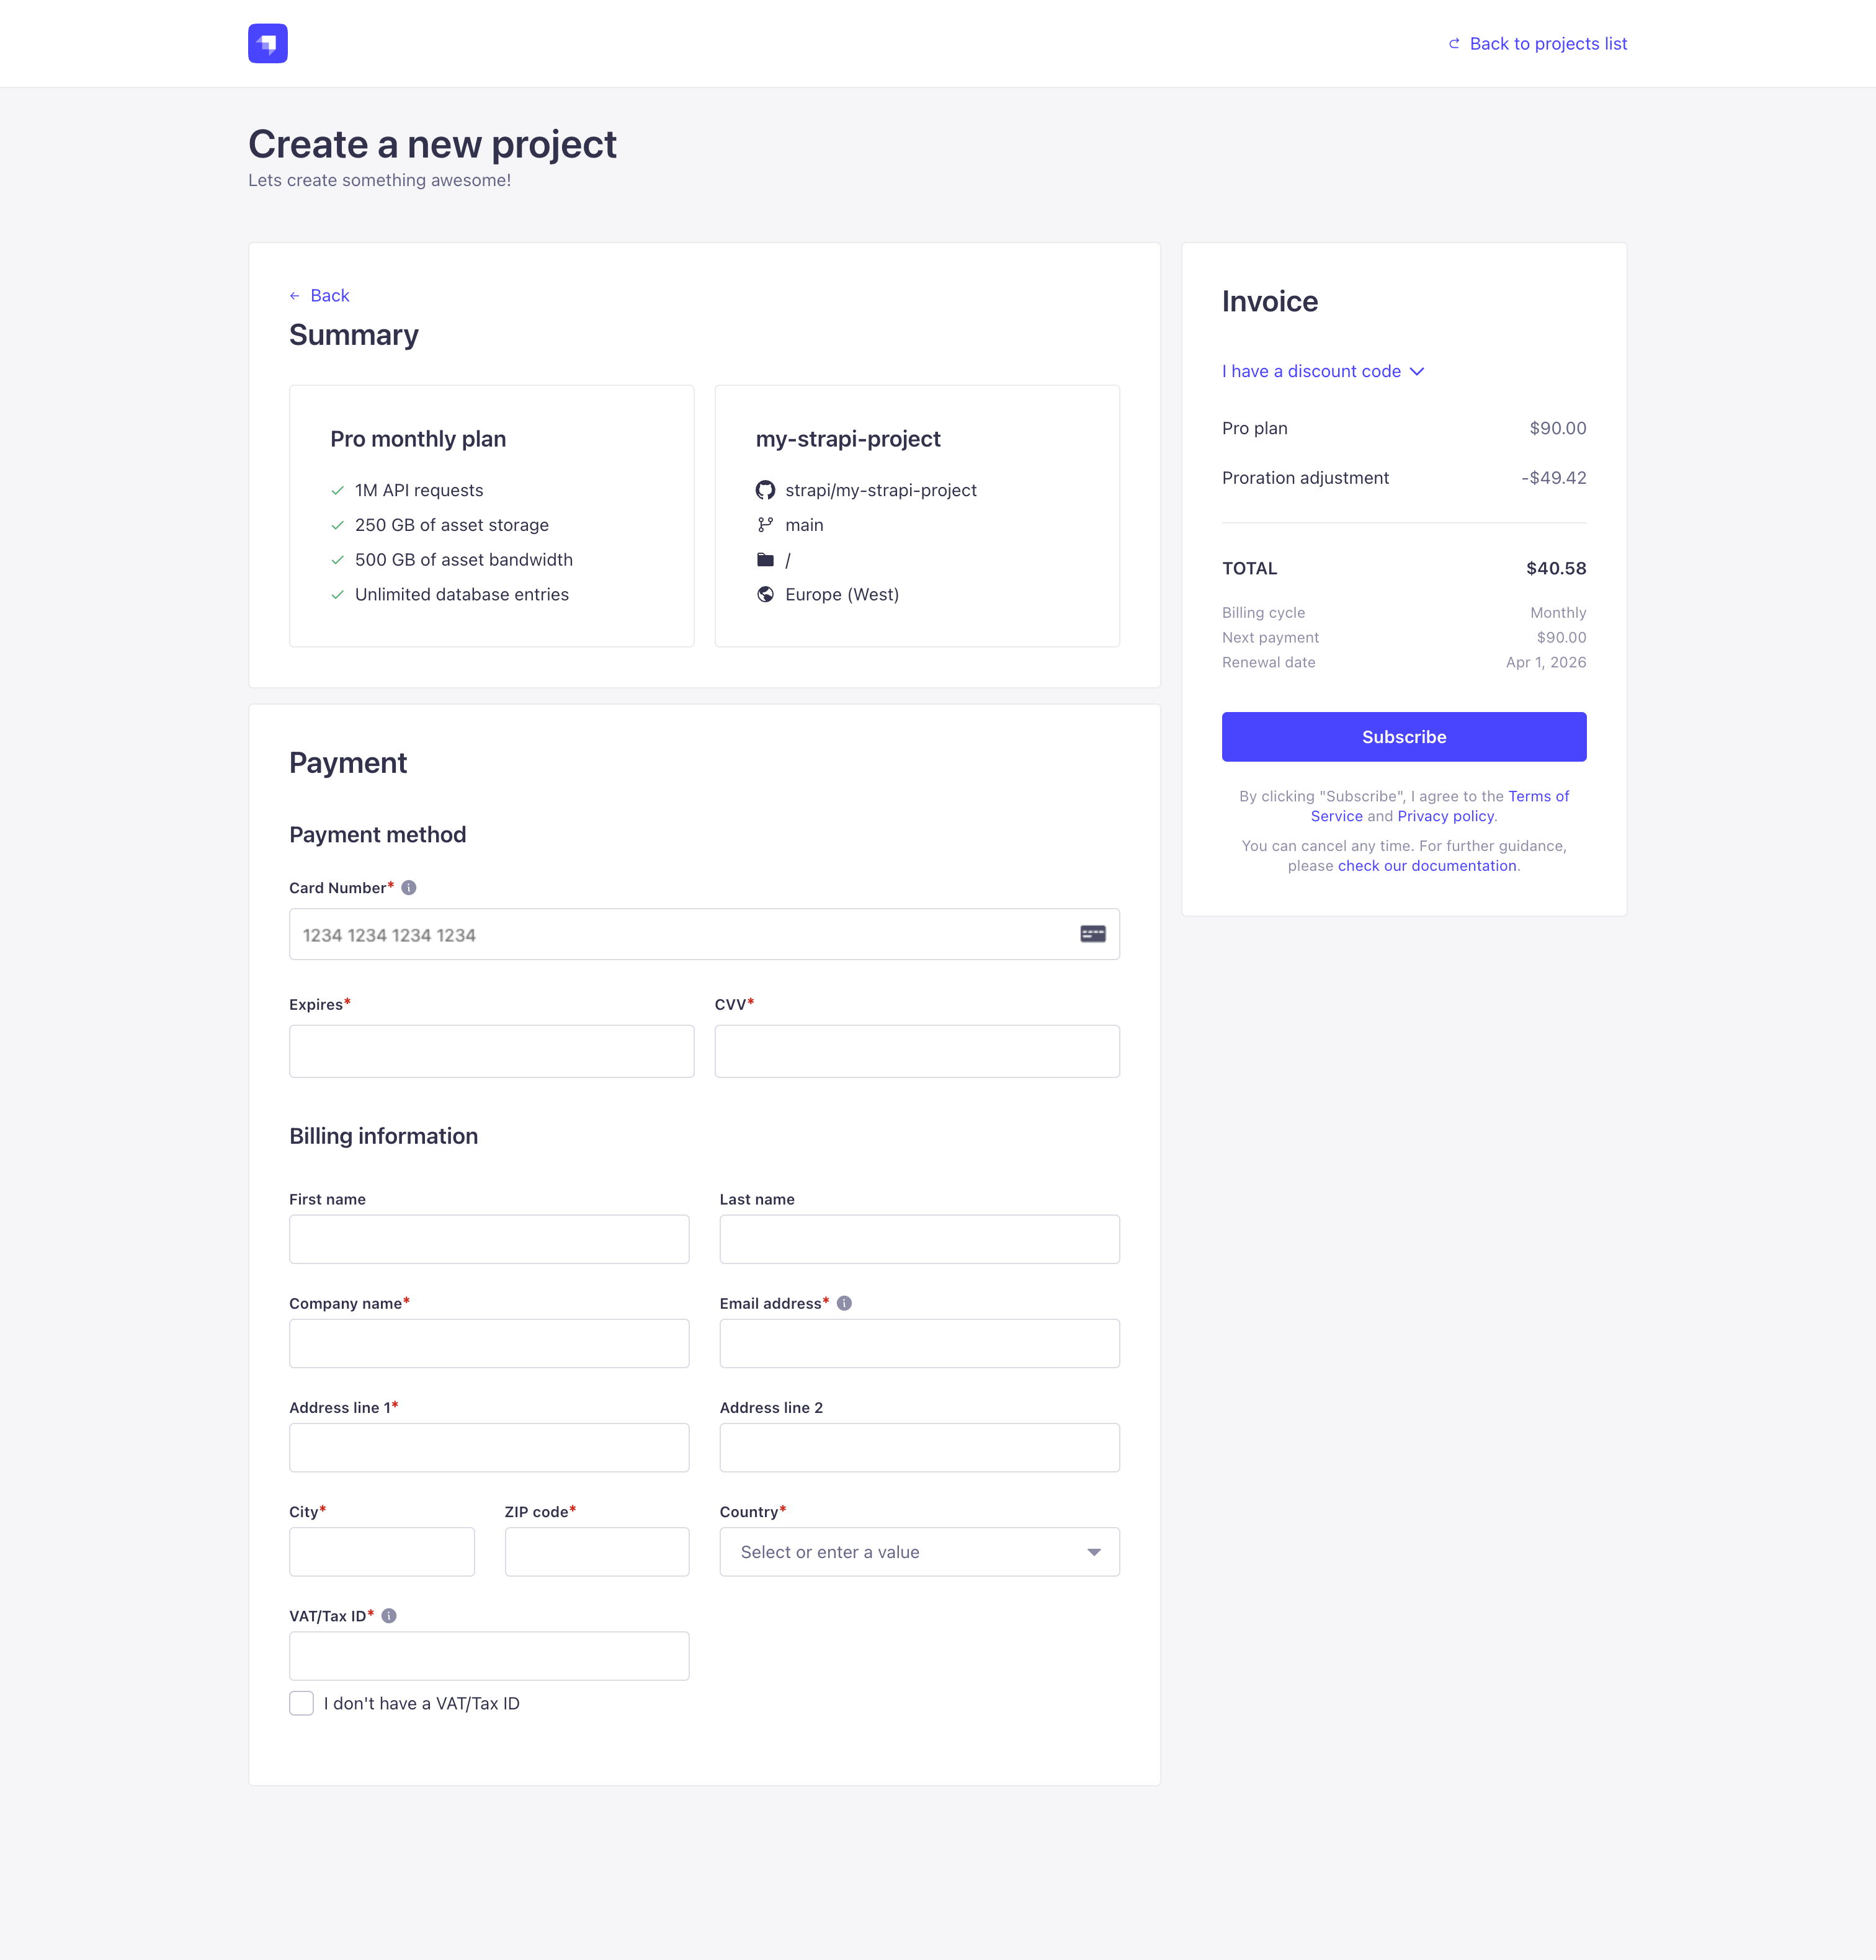
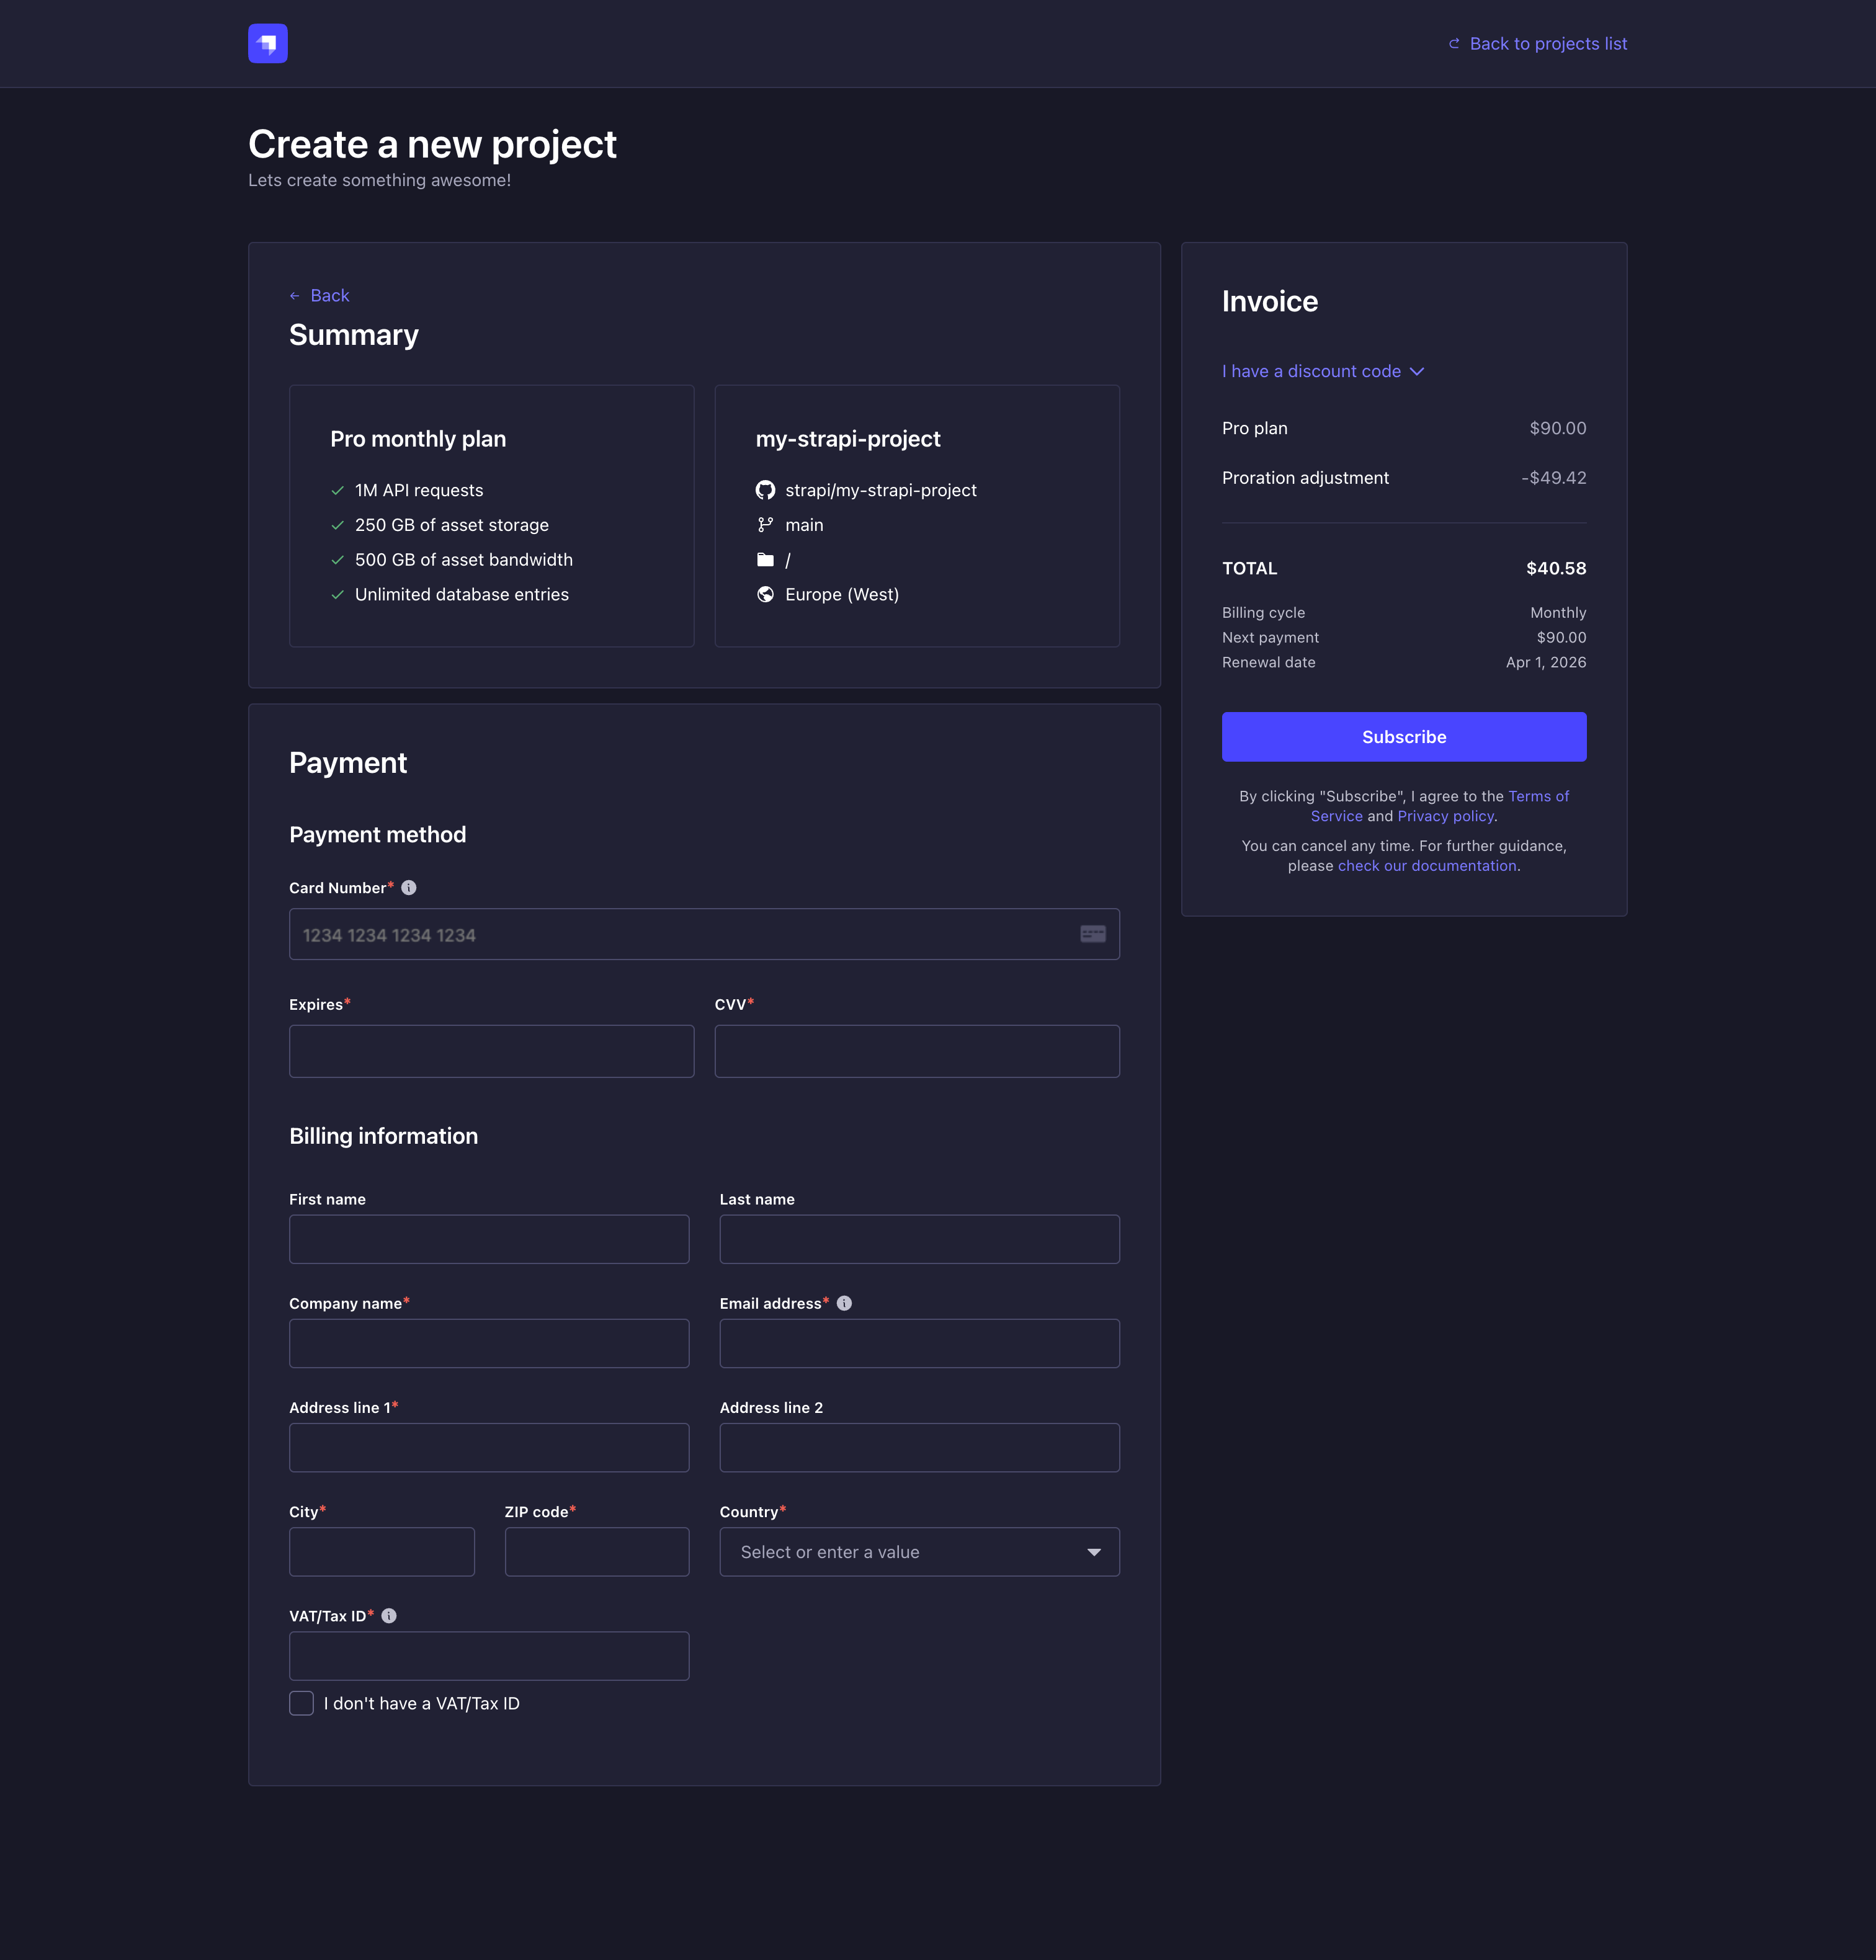
Click on the Continue to billing button. You will be redirected to the billing page where you can enter your payment details and review your invoice.
-
In the Payment method section, add a credit card. This card will be used for all project-related transactions, including add-ons and overages.
-
In the Billing information section, fill in your payment details and billing address.
-
Review the Invoice section. When purchasing a monthly subscription, the subscription price will be prorated for the remaining days in the current billing cycle. Optionally, expand the Discount code section to enter a code.
NoteTaxes may be added to your invoice based on your billing address:
- In the EU and UK, providing a valid VAT ID exempts you from VAT. If no valid VAT ID is provided, VAT will be added to your invoice.
- In the US, applicable sales taxes are calculated based on your state and address.
-
Click on the Subscribe button to finalize the creation of your new Strapi Cloud project.
Deploying your project
After confirming the project creation, you will be redirected to your Project dashboard where you will be able to follow its creation and first deployment.
While your project is deploying, you can already start configuring some of your project settings.
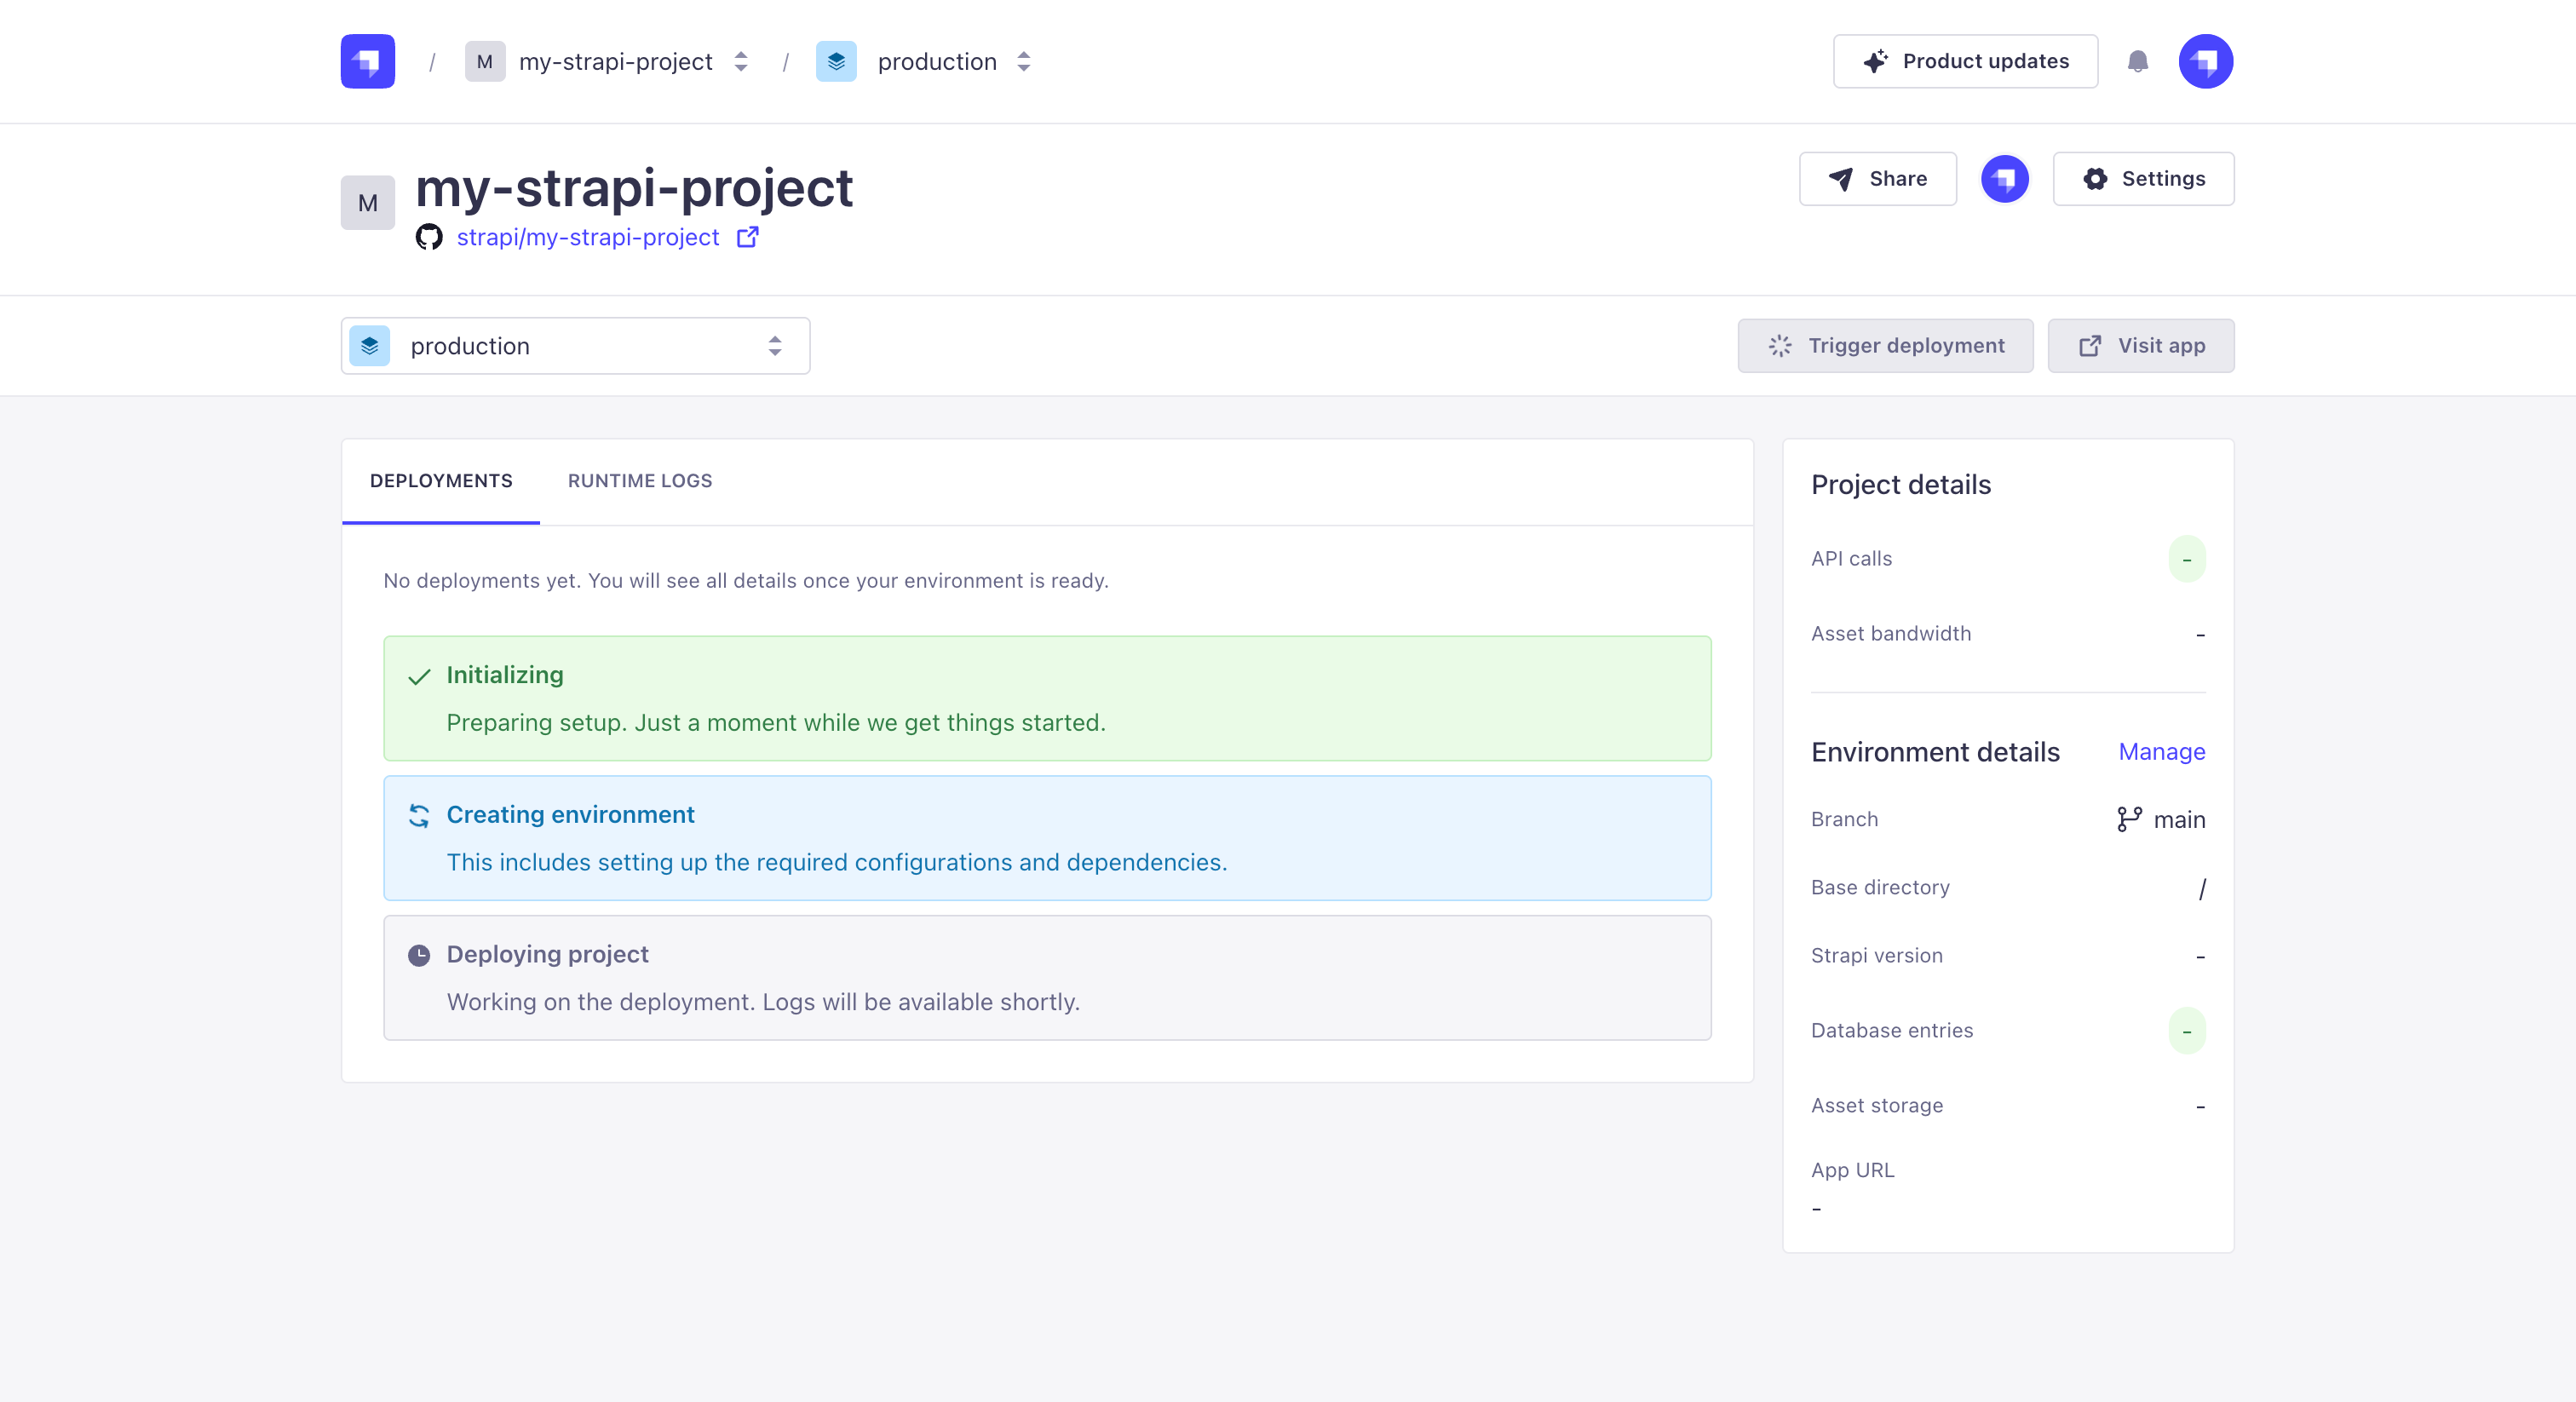
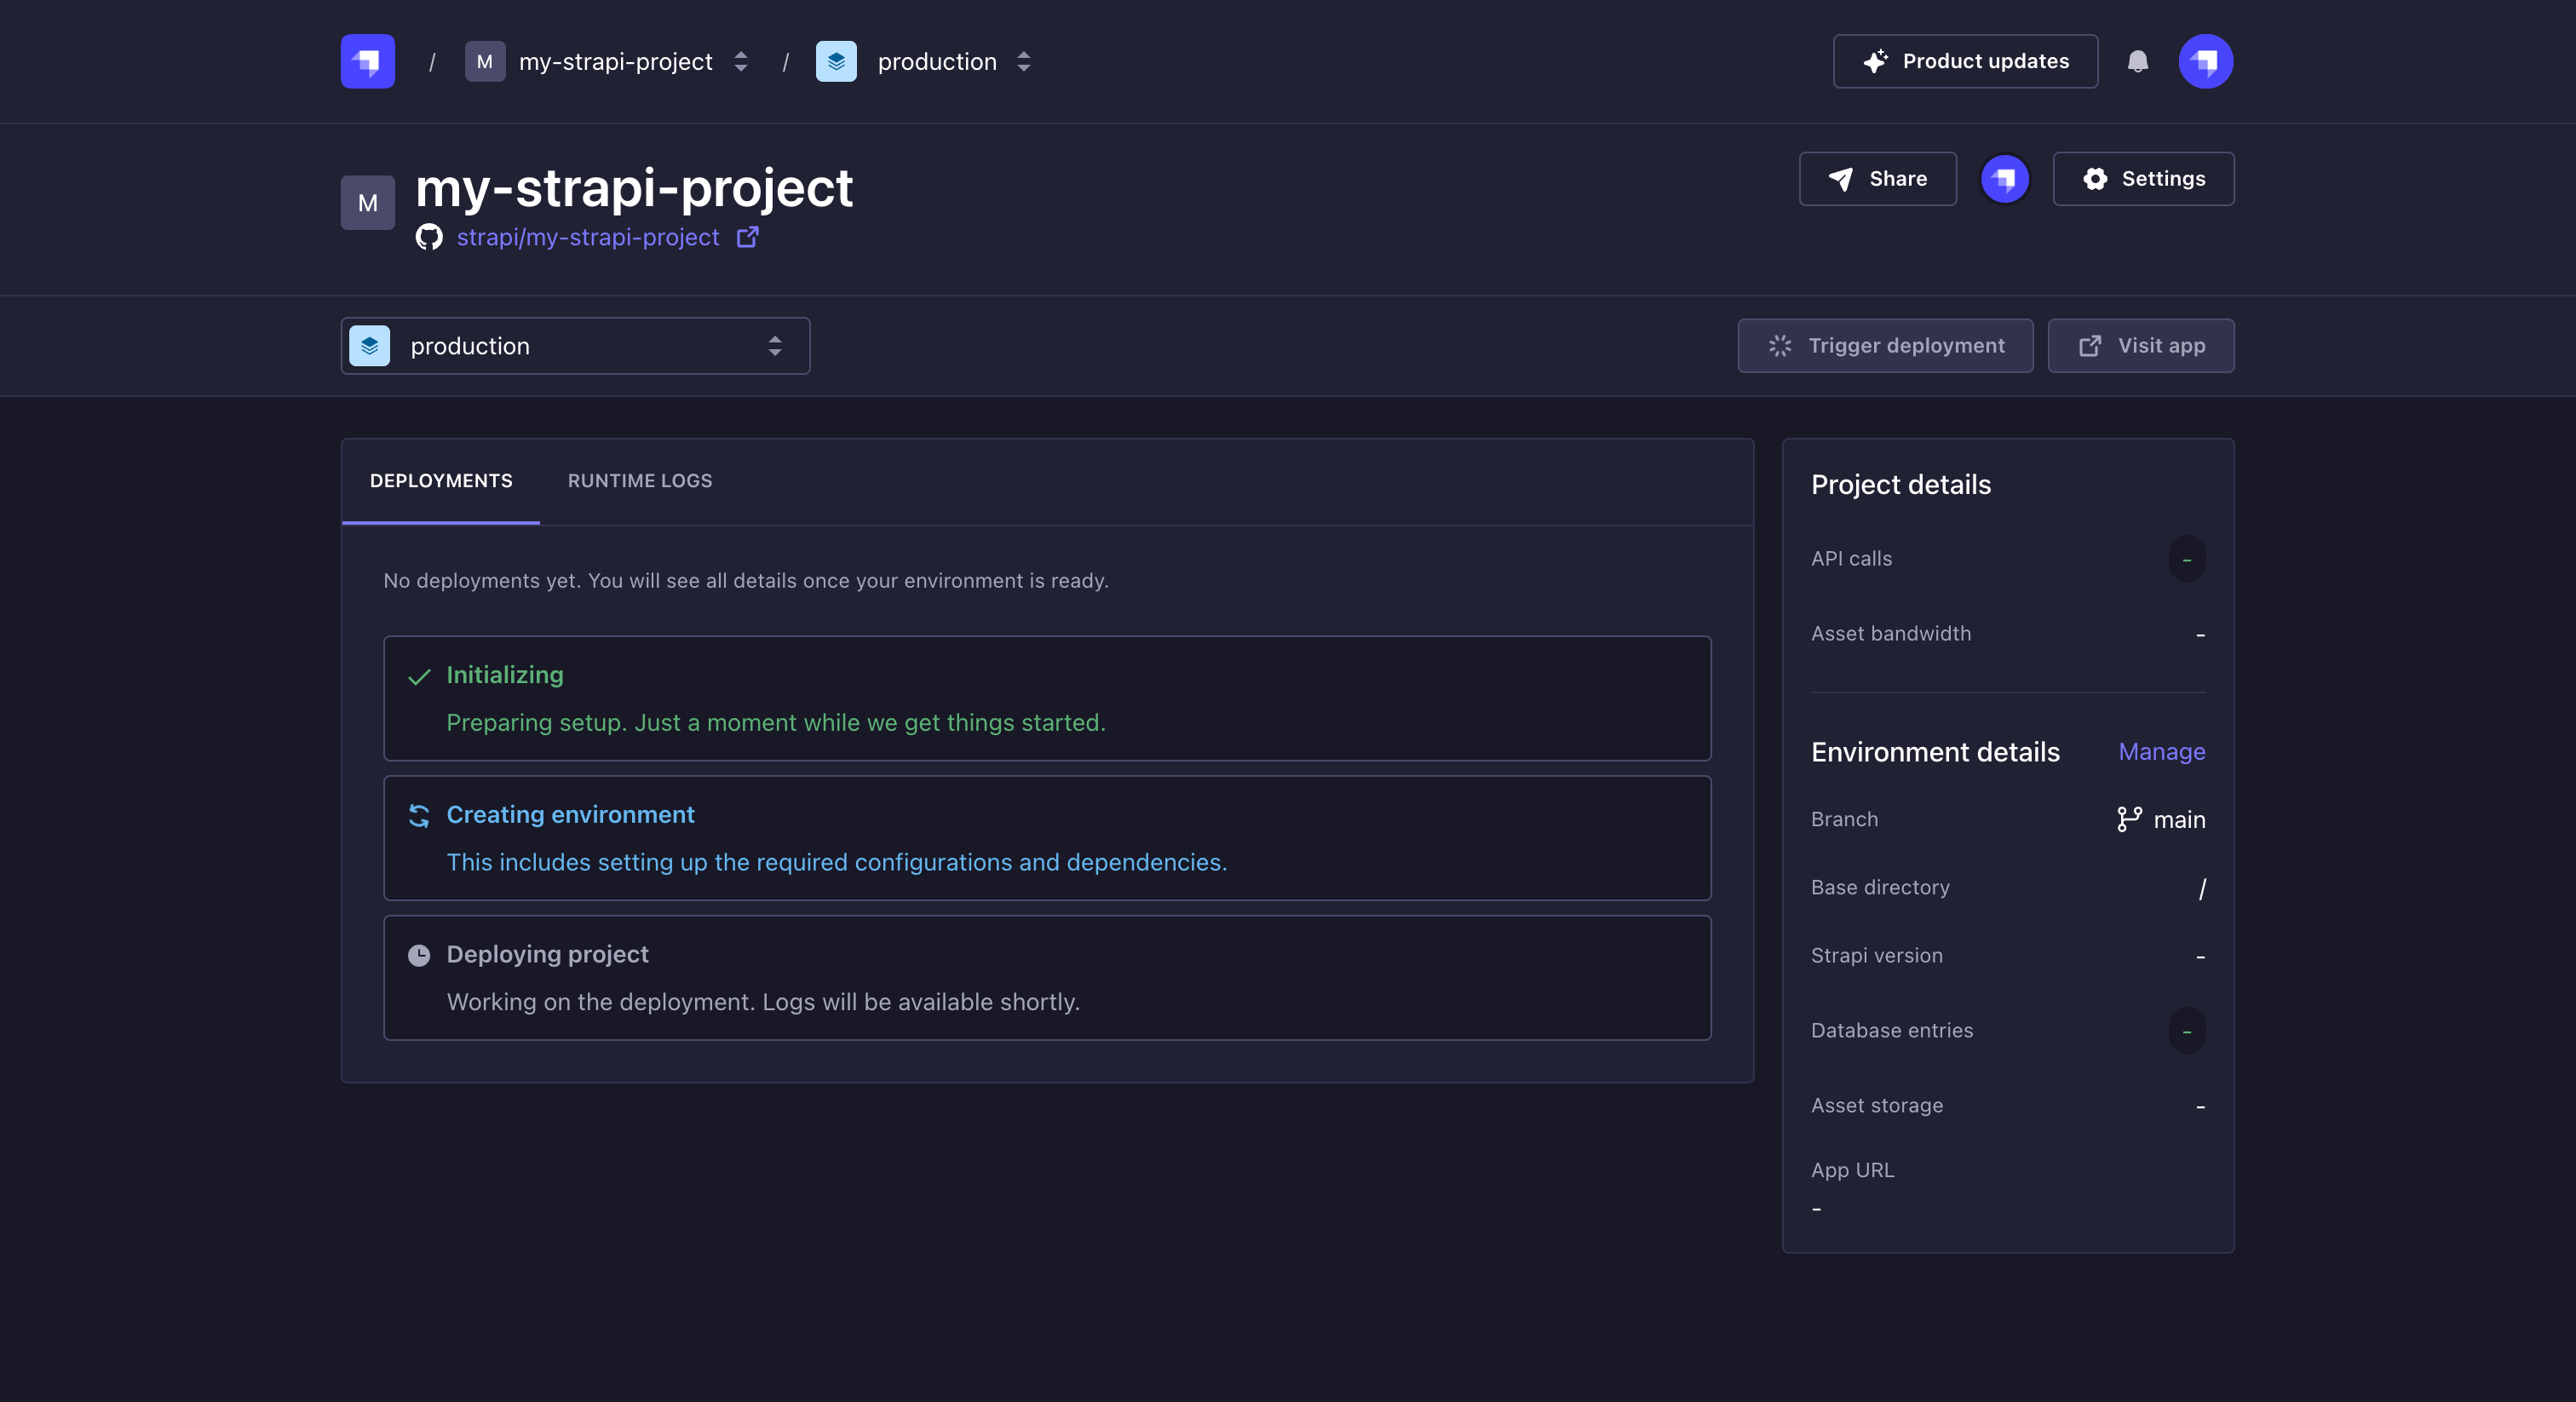
If an error occurs during the project creation, the progress indicator will stop and display an error message. You will see a Retry button next to the failed step, allowing you to restart the creation process.
Once your project is successfully deployed, the creation tracker will be replaced by your deployments list and you will be able to visit your Cloud hosted project. Don't forget to create the first Admin user before sharing your Strapi project.
What to do next?
Now that you have deployed your project via the Cloud dashboard, we encourage you to explore the following ideas to have an even more complete Strapi Cloud experience:
- Invite other users to collaborate on your project.
- Check out the deployments management documentation to learn how to trigger new deployments for your project.